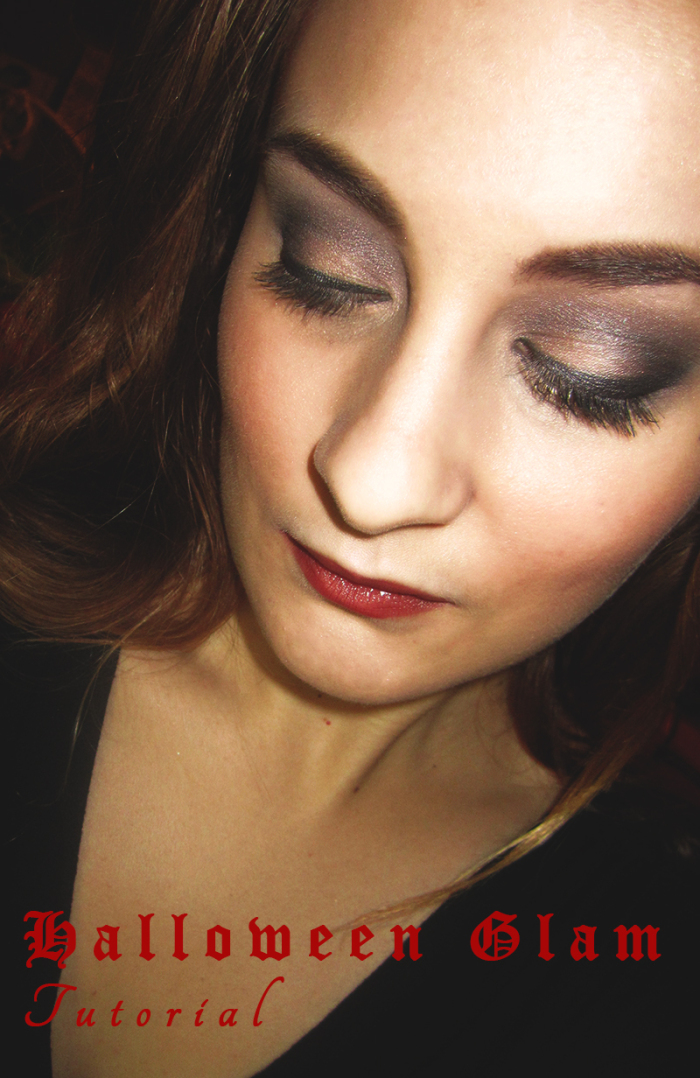
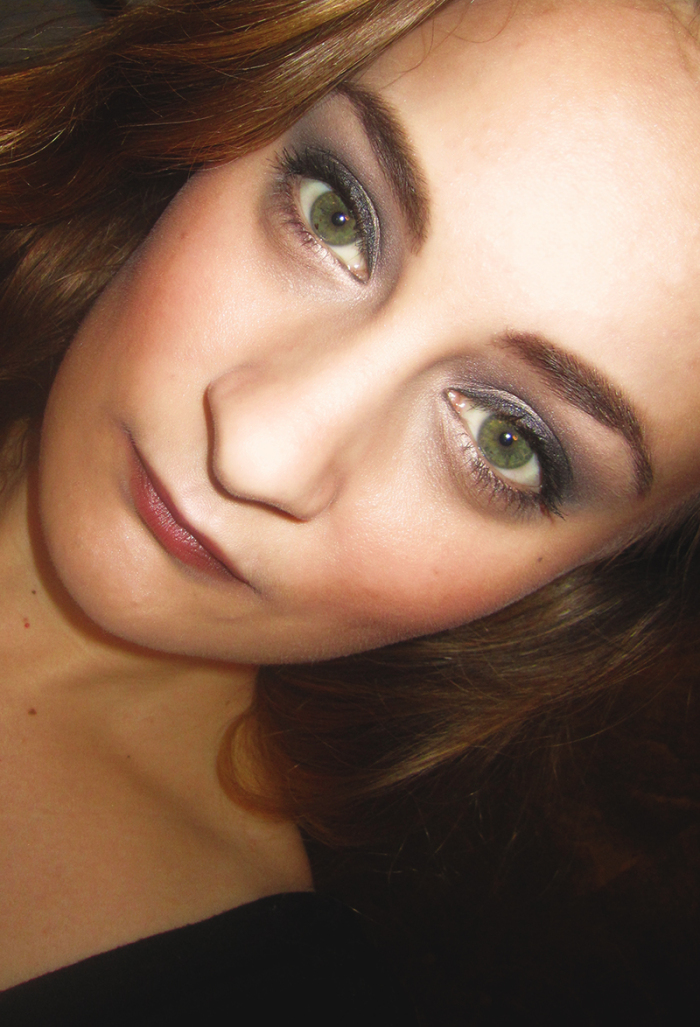
Still looking for the perfect Halloween beauty look to complete your costume? For those of us who choose not to venture into the land of zombies or fantasy creatures when considering our Halloween costumes, finding the perfect look can be difficult. What do you do when you don’t want to be scary, nor do you want to paint your face for hours on end? If you are a looking for a simple, yet sophisticated beauty make-up that will take you from your everyday look to your glam alter-ego, then here is the tutorial for you! Reminiscent of old Hollywood glamour, this is the perfect look for those of us just wanting to spice things up a bit for the 31st.
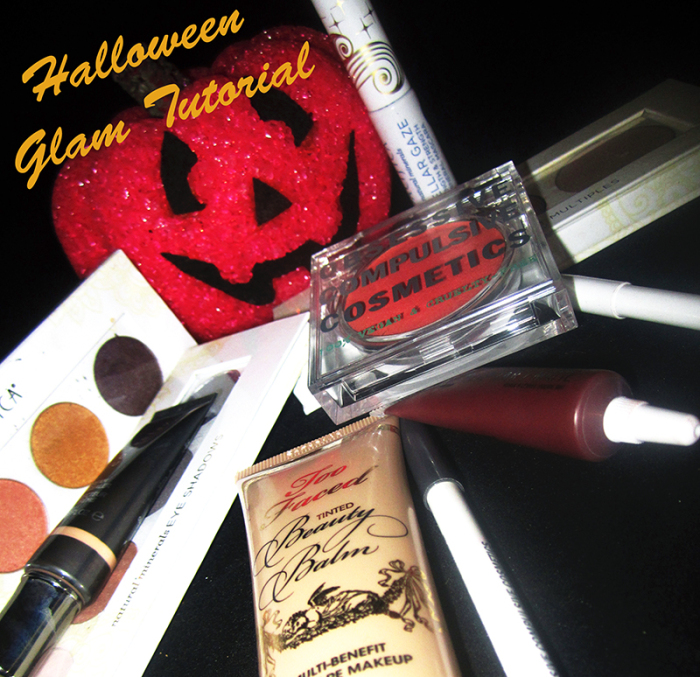
Products Used:
Everything I used for this tutorial can be found at Target and Sephora, so this is not only an easily accessible look, but fairly cost-efficient as well!
Face:
· Cover FX Cream Concealer in G Light
· Too Faced Tinted Beauty Balm in Vanilla Glow.
· Pacifica Radiant Shimmer Coconut Multiples—I used BRONZED and MOONLIT from this palette.
· Obsessive Compulsive Cosmetics Crème Colour Concentrate in Grandma—I used this as my blush color.
Eyes:
· Pacifica Eye Brightening Shadow Palette in Enlighten—I used SKINNY DIP (the lightest tone in this palette) as my eyelid base color.
· Pacifica Supernatural Eye Shadow Palette in Mystical—I used OPAL (the lightest tone in this palette) as my highlight color for both my eyes and above my upper lip. I used CELESTIAL (the champagne color) as my eyelid color.
· Obsessive Compulsive Cosmetics Cosmetic Colour Pencils in Tarred (black) and Sybil (Dark Brown)—I used these as my crease colors for my eye shadow, and I used TARRED as my eyeliner. I also mixed these two colors to darken and exaggerate my eyebrows, and I added TARRED to the corners of my lips to darken and exaggerate those as well.
· Pacifica Stellar Gaze Length and Strength Mineral Mascara in Supernova (black)—this is one of my FAVORITE mascaras I have ever used. My lashes remain soft when I use it, and it layers well. I highly recommend this product!
Lips:
· Obsessive Compulsive Cosmetics Lip Tar Matte in Anita—to ensure a good application and vibrant color, do not apply a gloss or balm immediately before applying the lip tar. Unless it is one of the lip primers/balms that OCC makes, I would not recommend it. Doing so caused my color to be significantly less vibrant the first time I applied it.
Foundation/Concealer:
1. Apply the Cover Fx Concealer underneath your eyes and on your eyelids—not only will this help tired eyes look more awake, but it will also act as a primer for your eye shadow. I found it easiest to apply this concealer with a concealer brush due to its thicker, more concentrated consistency. Both Too Faced and E.L.F make great vegan and cruelty-free make-up brushes!
2. Apply the Too Faced Tinted Beauty Balm to your entire face, blending it onto your jawbone and slightly down onto your neck—I use my hands to apply my foundation, but feel free to use a foundation brush or whatever your favorite foundation application tool is.
3. Apply the Cover FX Concealer to any other problem areas that the foundation did not cover. I have mild acne, and this concealer does an excellent job of covering it without looking too cakey or obvious.
Eyes:
1. Apply SKINNY DIP from Pacifica’s Enlighten palette to your eyelid. This will be your base color.
2. Apply OPAL from Pacifica’s Mystical palette underneath the eyebrow and blend into skinny dip.
3. Next, apply CELESTIAL from Pacifica’s Mystical palette over skinny dip and blend into your highlight color (opal).
4. Now, using the Obsessive Compulsive Cosmetics Colour Pencil in SYBIL, fill in your crease and the outer edge of your eye (as pictured)—this does not have to be perfect, as it will be blended into the other shades. Once you have it applied, blend it with either a crease brush (I recommend E.L.F’s or just using your finger).
5. Next, apply OCC’s Colour Pencil in TARRED as eyeliner across your upper lash-line, slightly winging it out into a cat eye. I applied a fairly thick line, but depending on your own tastes, feel free to vary the width of the line. Then apply tarred into your crease over Sybil to intensify the shading.
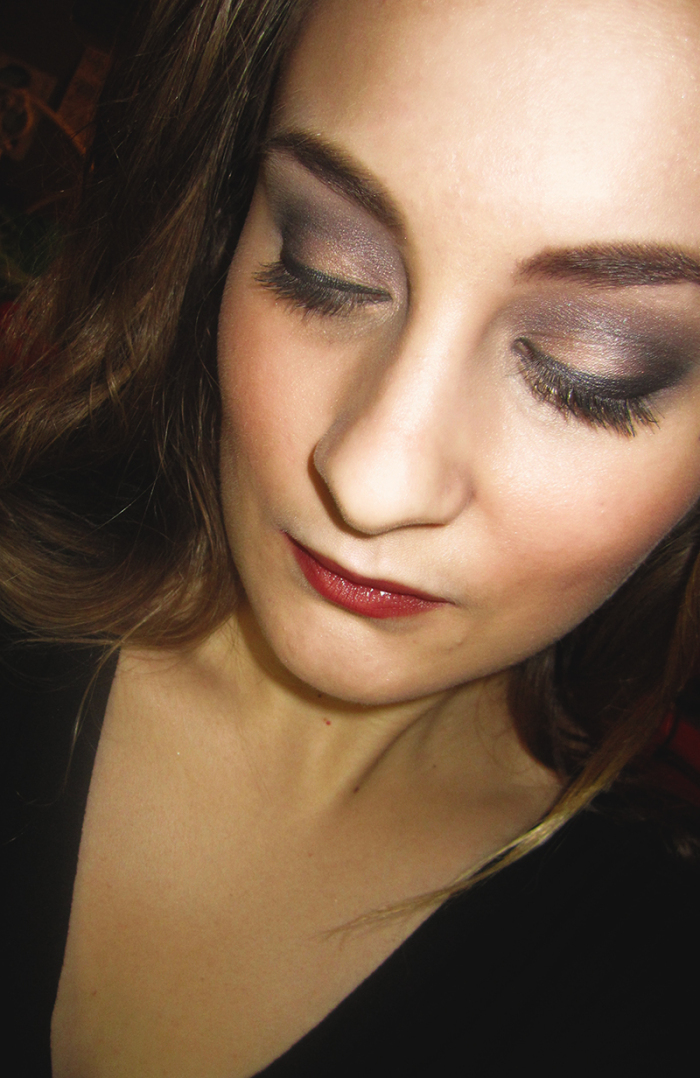
6. Blend the end of the eyeliner into your crease and blend your crease color downwards into your eyelid color and upwards into the highlight color. Use the highlight color to achieve this blending (See the picture provided for the completed eye shadow look).
7. Curl your lashes and apply the Pacifica mascara to your upper lashes and gently across your lower lashes. Let the first coat dry and apply 1-2 more coats, depending on how thick you would like your lashes.
8. To further define your eyes, apply OPAL to the inner corners of your eyes and gently smudge TARRED (using an eyeliner brush is the easiest way to achieve this effect) onto the lower lash-line, fading it out as you reach the inner corner of the eye.
9. If you have sparse, light eyebrows like me, you can mix OCC’s SYBIL and TARRED to darken and exaggerate your brows. Since this is a Halloween look, it can be fun to add such exaggeration and definition! I applied the two colors to my hand and then blended them into each other with an eyeliner brush—this way you are not just drawing them on. This will give your brows a more natural, less cartoon-like effect. Apply the eyebrow color beginning in the middle of your eyebrow to the end of your brow and then use the remaining color to darken the front of your eyebrows.
Contouring & Blush:
1. Apply the Pacifica highlight color (MOONLIT) to the cheeks, chin, forehead, nose, and underneath your eyes. I suggest using a fluffy brush to achieve this part of the look.
2. Next, apply the Pacifica bronzer color (BRONZED) to the cheekbones, temples, and your jawbone—I used a foundation brush to apply this color.
3. Apply the OCC Crème Colour Concentrate in Grandma as blush to your cheeks—this is EXTREMELY concentrated, so after swiping your brush into the color, wipe a little off on your hand before applying it to your face.
4. Blend the blush and bronzer with the highlight color (MOONLIT) using the same fluffy brush.
Lips:
1. Apply the OCC Lip Tar Matte in Anita to your lips using the brush that comes with the product—I applied several coats to get the deep color I was looking for. Be sure to let it dry between coats.
2. To further define and add drama to your lip color, apply the TARRED crème colour pencil to the outer corners of your lips once the Lip Tar is dry and blend it into the Lip Tar—it blends beautifully!
Now you’re ready to be a glam girl (or ghoul!) this Halloween!
Also in Fall beauty tutorial: Mastering the Red Lip
The Perfect Daytime Eye Tutorial
__
Photo: Rebecca Curl

