It’s difficult to put my love for beets into words. It almost exceeds the English language. They are just so beautiful and delicious, I find myself craving them daily. I grew up eating jars upon jars of pickled beets until I was old enough to prepare them myself. I think I love preparing them because of the beautiful shade of red that temporarily dyes your hands. It’s the same jollification derived from seeding pomegranates. I just love it.
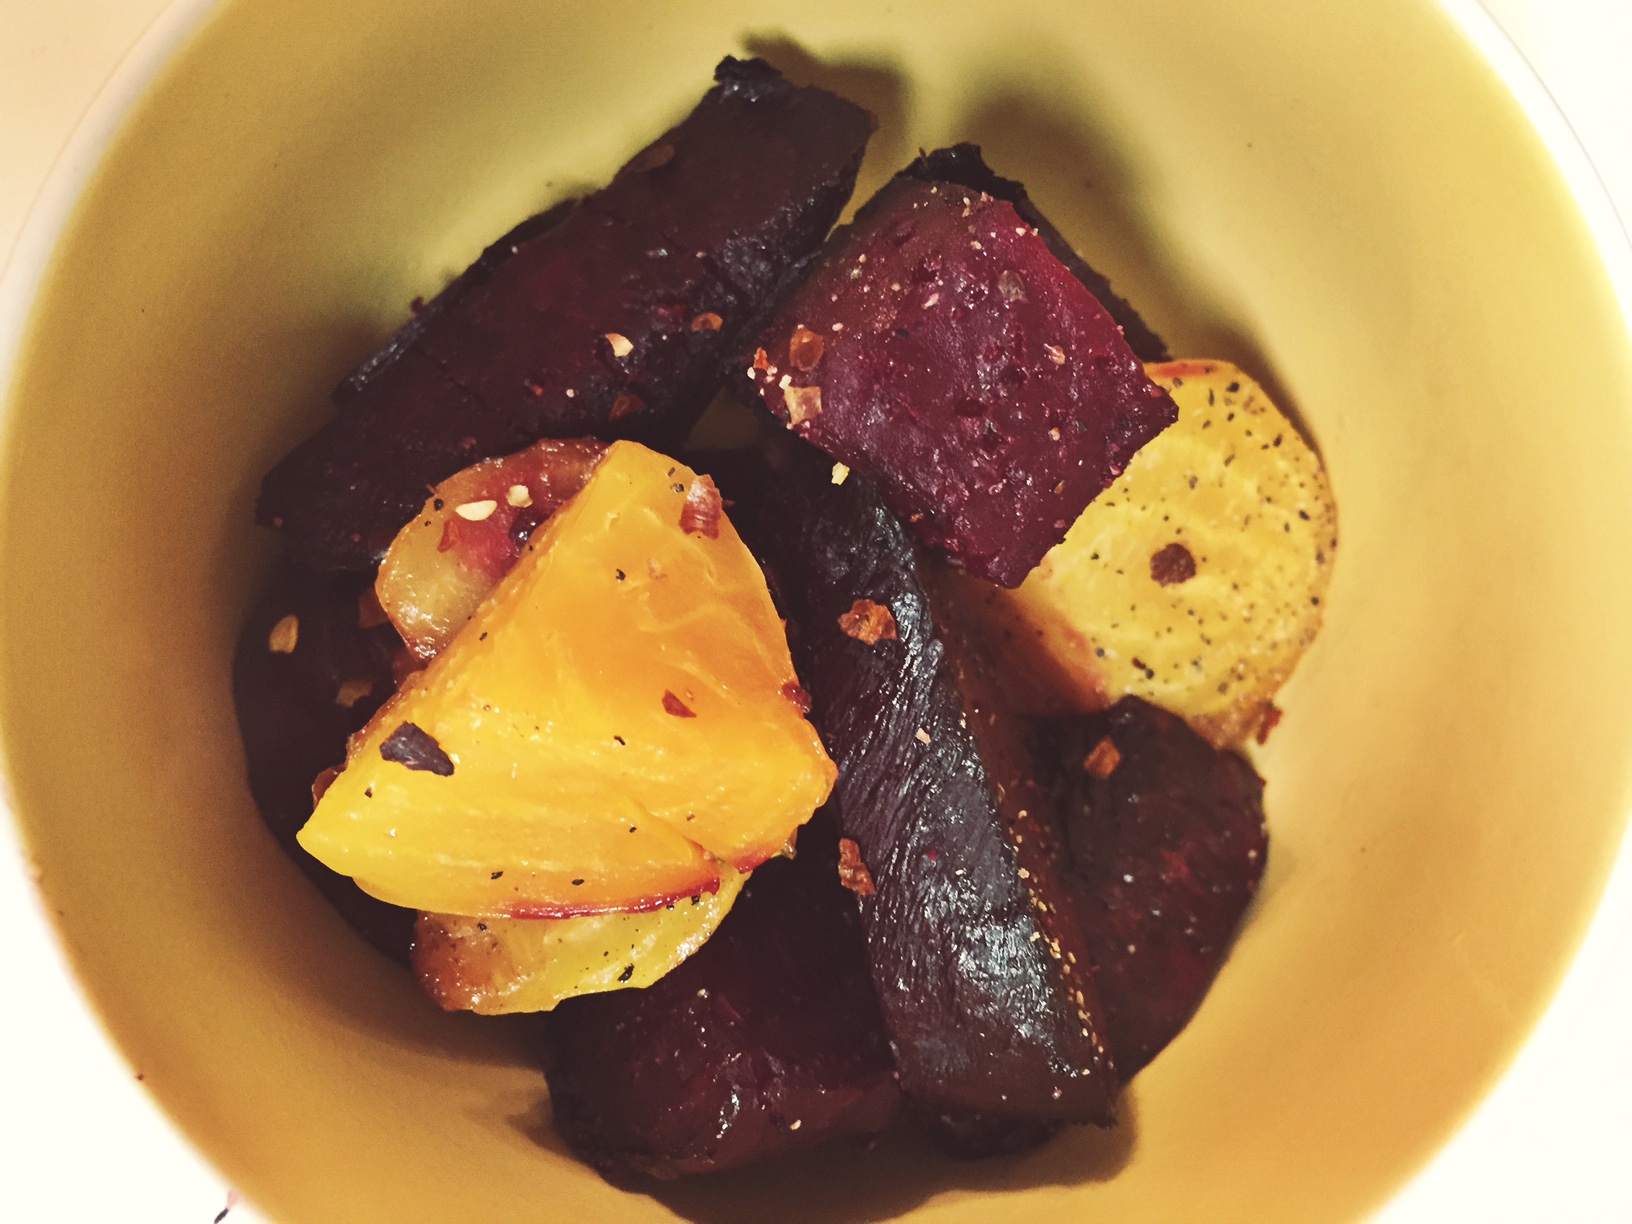
Here is my recipe for easy and delicious roasted beets. I’ve brought them to multiple dinners and these babies are consistently a favorite. Some grocery stores sell just the beet roots, but try to get them with greens if you can. You can scrub those greens and saute them just as you would kale or chard. Beet greens are an amazing source of iron, vitamin K, A, C, E, B2, B6 (the list goes on and on). In this recipe I use both red beets and golden beets. Golden beets have a more subtle flavor but nonetheless remain delicate, delicious and earthy.

- 5-8 medium beets on one baking sheet Beets (red, golden or both)
- 1 tsp for each beet, drizzle when cut Olive oil
- to taste salt
- to taste pepper
- optional red pepper flakes
- 5-8 medium beets on one baking sheet Beets (red, golden or both)
- 1 tsp for each beet, drizzle when cut Olive oil
- to taste salt
- to taste pepper
- optional red pepper flakes

Directions
1. Preheat oven to 375 degrees.
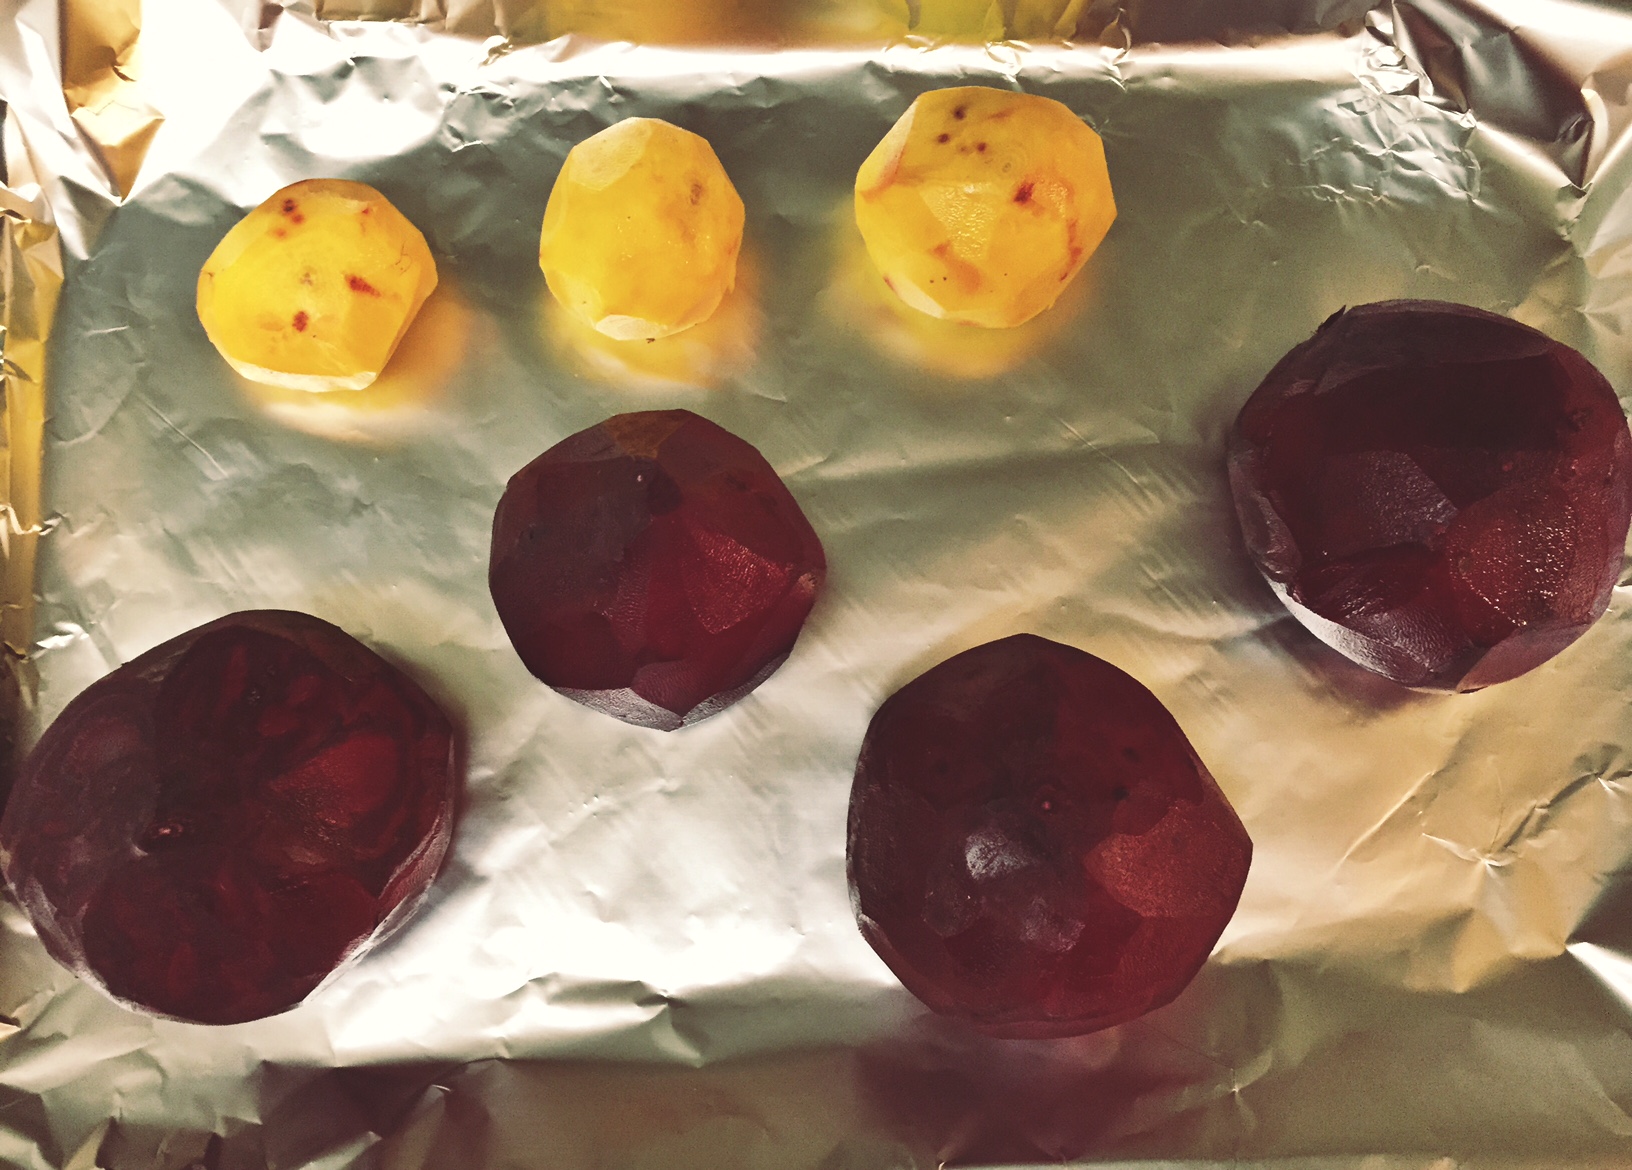
2. Cut beet greens off of the beet (save for another time!) and peel the beets. (This step is optional. I prefer the skin of my beets to be removed but you can keep them on. If you do, scrub the beets REALLY well)
3. Line a baking sheet with tin foil.
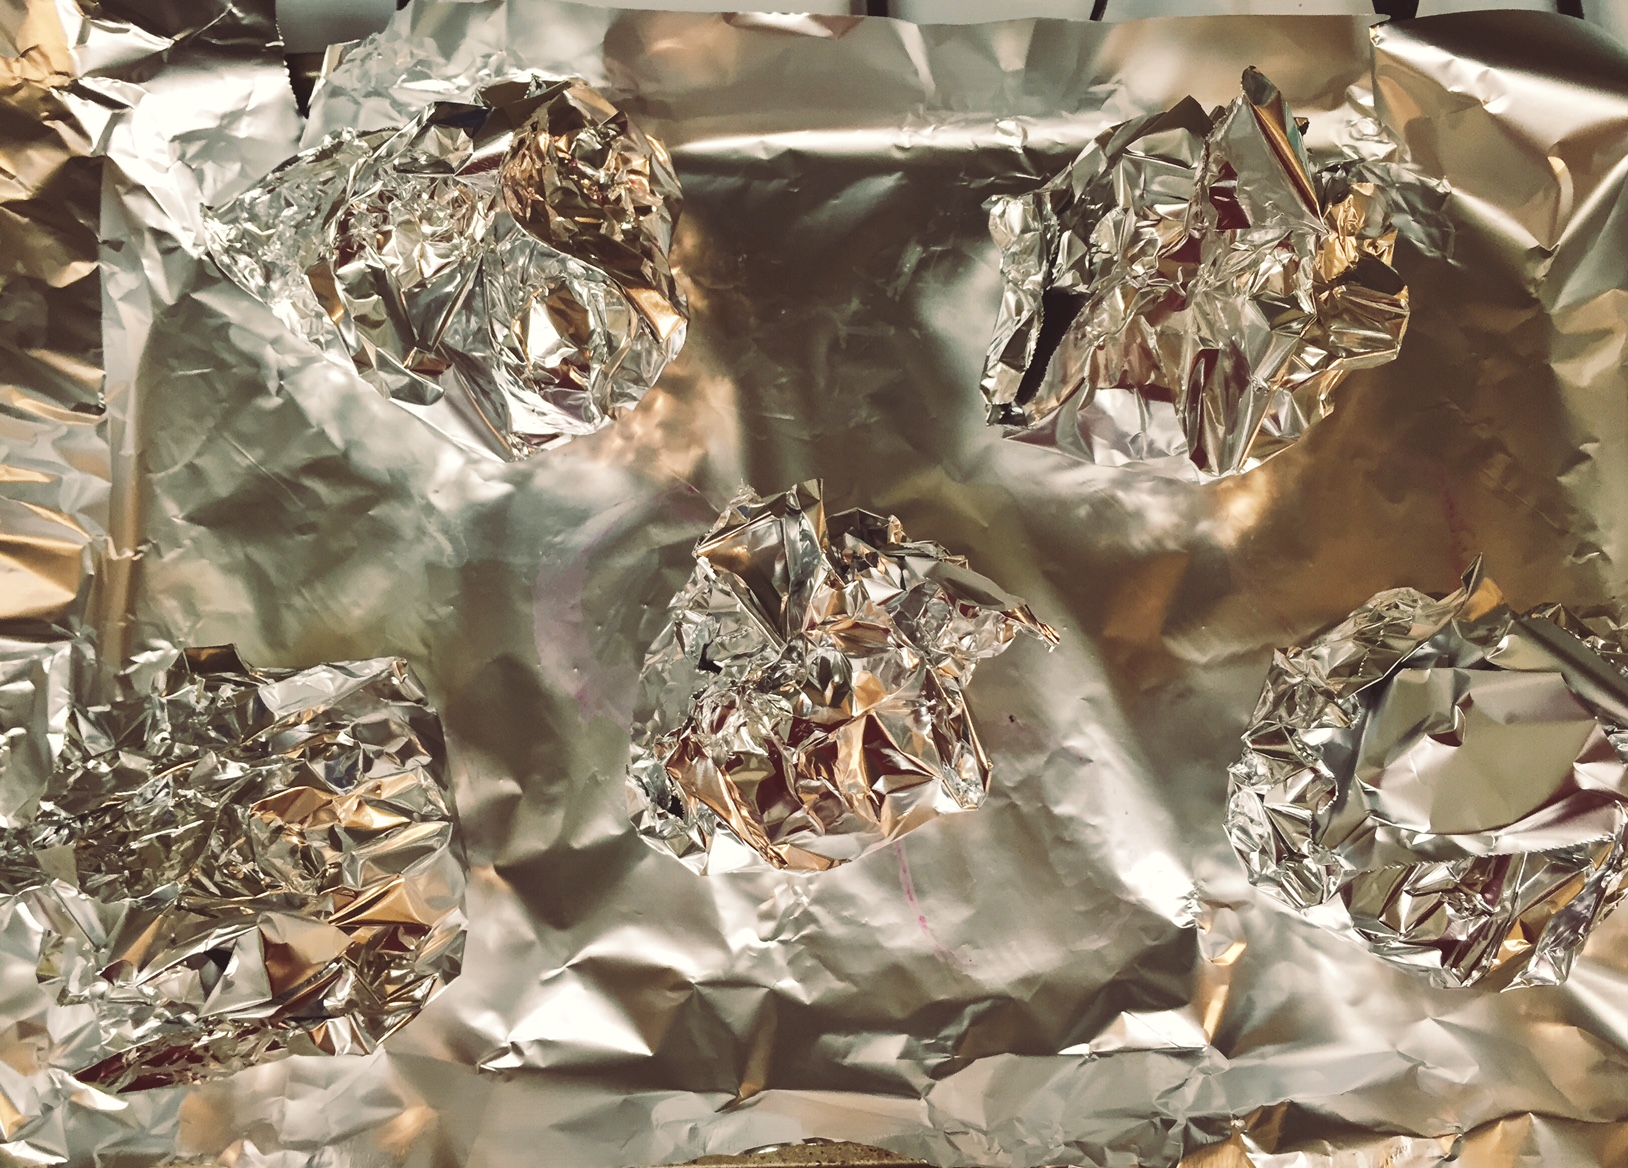
4. Drizzle 1tsp of olive oil on each beet and wrap each individual beet up in tin foil.
5. Place in oven and cook through for about an hour.
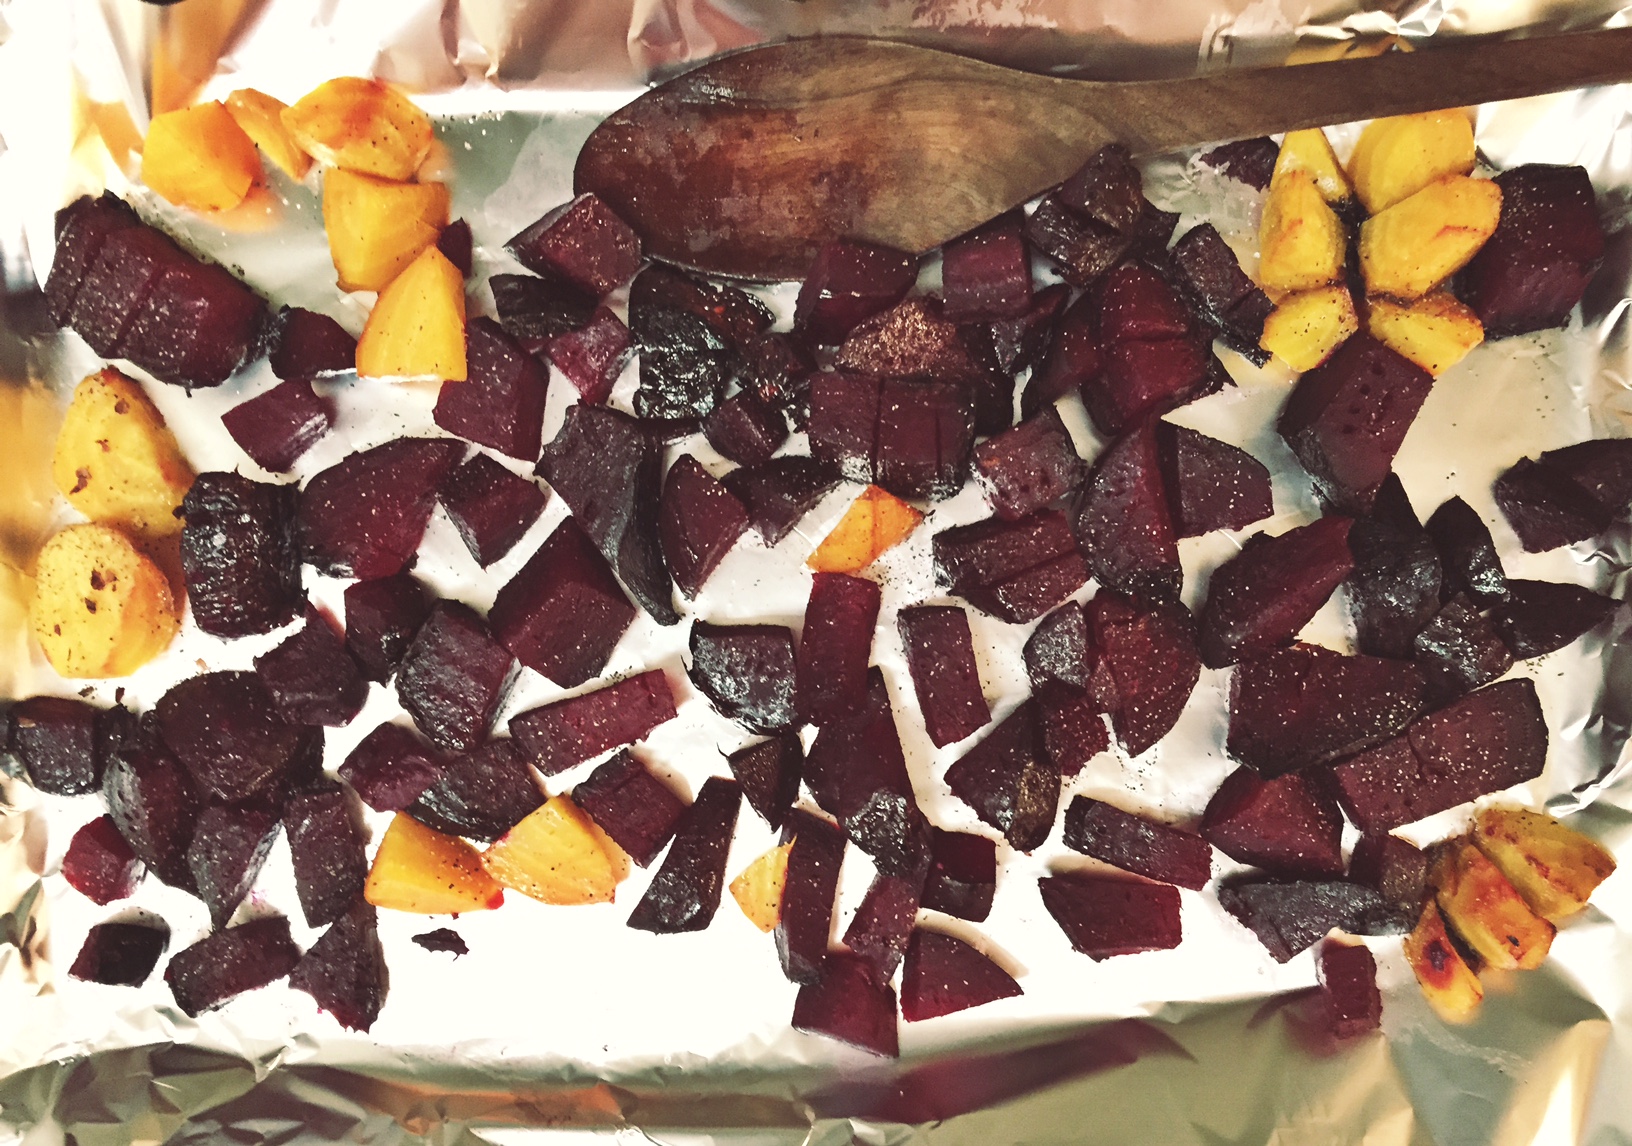
6. After beets cool down, unwrap the beets and cut into 1 inch thick chunks.
7. Place the cut beets back on the baking sheet and sprinkle with salt, pepper and red pepper flakes.
8. Put back in the oven for 5 more minutes.
9. Eat and enjoy.
__
Photo: Samantha Matcovsky
