I recently made an amazing discovery--one that other vegans have known about for quite some time, admittedly--but not even being late to the game could deter my excitement. Full-fat canned coconut milk/canned coconut cream is a magical wonder. Where has this instant dessert been all my life? (Sitting on the same shelf as the rice noodles I regularly purchase, probably.) This coconut joy has the loveliest texture and makes the perfect replacement for whipped cream--plus it's healthier!
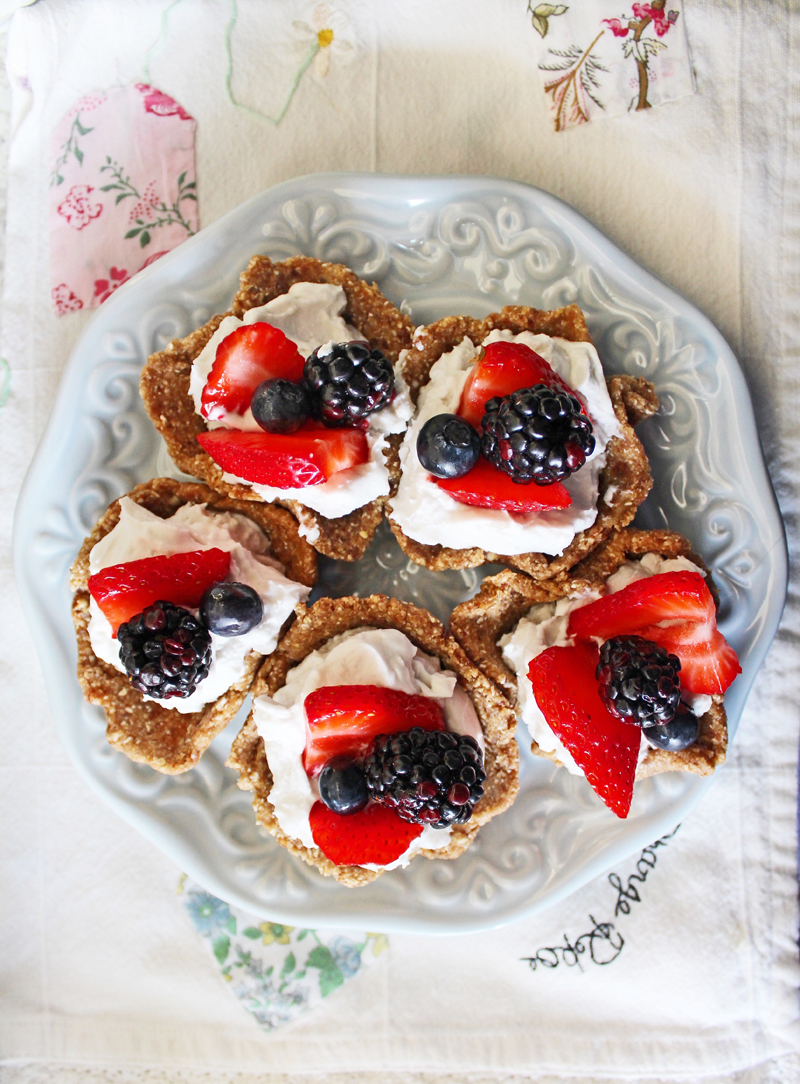
Raw Vegan Coconut Cream Berry Tarts give coconut cream center stage. These sweet and indulgent tarts are ideal for hot weather. They require little effort (you don't even have to soak the cashews if you don't want to!) and no cooking. Plus, they're a great way to enjoy seasonal summer produce. I topped mine with fresh berries, but you could try peaches and mint leaves or cherries and cinnamon--there are many delicious options. I hope you like these coconut cream tarts as much as I do :)
Raw Vegan Coconut Cream Berry Tarts give coconut cream center stage. These sweet and indulgent tarts are ideal for hot weather. They require little effort (you don't even have to soak the cashews if you don't want to!) and no cooking. Plus, they're a great way to enjoy seasonal summer produce. I topped mine with fresh berries, but you could try peaches and mint leaves or cherries and cinnamon--there are many delicious options. I hope you like these coconut cream tarts as much as I do :)

- For the crust:
- 1 cup pitted dates (preferably fresh/gooey)
- 3/4 cup rolled oats
- 1/4 cup raw cashews
- For the filling:
- 1 can of coconut cream, chilled (Thai Kitchen makes an ideal canned coconut cream)
- 4 drops liquid stevia (or liquid sweetener of choice)
- 1/4 teaspoon vanilla extract
- Topping:
- fresh berries or fruit of choice

Directions
1. Prepare the crust. Blend oats in a high-speed blender until you have oat flour. Add cashews and pulse until cashews are broken into small crumbs. While the blender is on a low-speed setting, gradually add the dates. Continue to blend until the ingredients form a sticky dough. You may have to stop the blender to scrape the sides from time to time.
2. Remove the dough and divide between five or six small tart tins. Press the dough against the inside edges of the tart tins until the dough forms small bowls. Set aside.
3. Open the can of coconut cream, careful not to shake it. Scoop the cream out and into a mixing bowl. (Most of the cream should be sitting at the top.) Add two tablespoons of the liquid at the bottom of the can to the mixing bowl with the cream.
4. Add vanilla and liquid sweetener to the cream. Using a hand-held mixer or simply a fork, whisk the ingredients in the bowl until you reach a consistent, whipped texture. Taste for sweetness. (Coconut cream is naturally sweet, so it's unlikely that you'll need more sweetener.)
5. Remove the tart crust from the tins. Spoon the coconut cream mixture into the tarts. Top with fresh berries and serve. If there are leftovers, store covered in the fridge.
Related: Gluten-Free Strawberry Kiwi Fruit Tarts
Get more like this—Subscribe to our daily inspirational newsletter for exclusive content!
__
Photos: Mary Hood Luttrell

