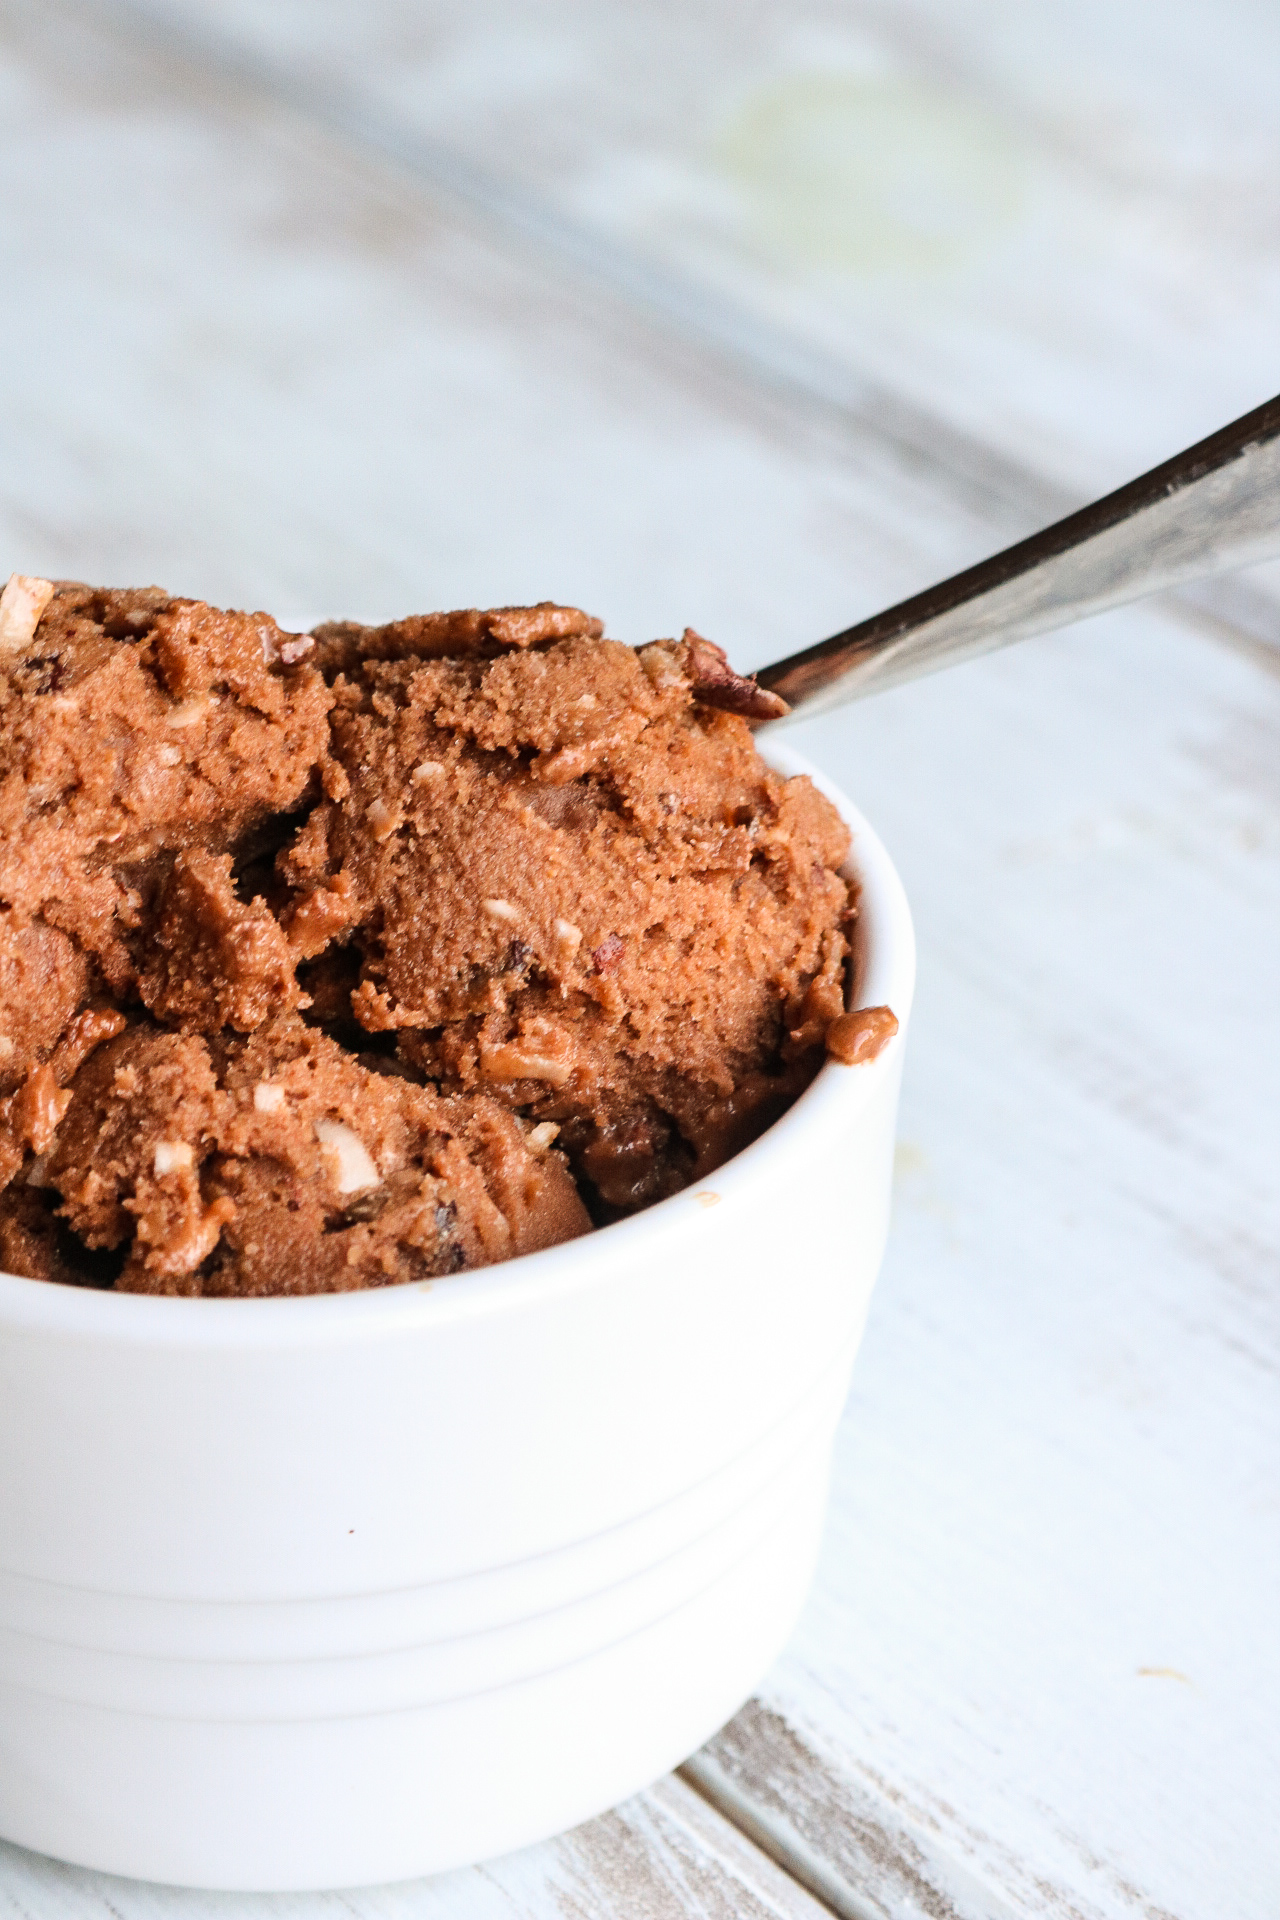
The weather has been ah-mazing lately! We've been going crazy for spring here in New England, but we may even be getting a taste of summer around here. The blue skies and sunshine brought me to breaking out the ice cream maker, which was a purchase I made a few years ago and I highly recommend it. It's a lot of fun, especially with little ones running around here, but it's also dangerous as I can go from having no ice cream in the house to freshly made ice cream in just a short amount of time.
This recipe will have information for using an ice cream maker and some helpful hints if you don't have an ice cream maker (it can still be done!). It's sweetened with a combination of banana and sugar, but you can easily substitute your own sweetener of choice if you wish to make the recipe refined sugar-free.
This recipe will have information for using an ice cream maker and some helpful hints if you don't have an ice cream maker (it can still be done!). It's sweetened with a combination of banana and sugar, but you can easily substitute your own sweetener of choice if you wish to make the recipe refined sugar-free.


- 2 cups Coconut Milk
- 1 Banana
- 1/3 cup Sugar
- 1 teaspoon Vanilla Extract
- 3 tablespoons Peanut Butter
- 3 tablespoons Raw Cacao Powder
- Optional Additions
- 3 tablespoons Shredded Coconut
- 3 tablespoons Nuts such as walnuts, almonds etc
- 3 tablespoons Cacao Nibs

Directions
1. Follow the instructions on your ice cream maker to ensure that the mixing bowl is placed in the freezer for several hours ahead of time, preferably overnight.
2. Place all of the ingredients, with the exception of the optional additions, into a blender and blend on high until well mixed.
3. Assemble the ice cream maker and pour the blended mixture into the cold mixing bowl. Allow to churn for approximately 15 minutes (you will see the mixture thicken significantly).
4. During the last couple of minutes, add in any of the additional ingredients to mix with the ice cream.
5. The ice cream will have a loose, soft serve consistency. Pour the ice cream into an airtight container and place in the freezer for at least an hour to harden further.
6. When ready to eat, remove from the freezer and allow to thaw a little bit before serving. Keep in mind that this ice cream has no additives, softeners, etc. so you will need to allow it to sit out on the counter longer than most store-bought ice cream before you can scoop and serve it, but the wait is worth it! **If you don't have an ice cream maker, add 4-6 ice cubes to the blender when you mix the ingredients. Pour the mixture into an airtight container and place in the freezer for a few hours. Periodically, remove the container from the freezer and mix it by hand with a large spoon. Return to the freezer and repeat the process over time until you get the consistency you would like.
Also by Colette: Vegan & Gluten-Free Chocolate Strawberry Muffins
Related: 10 Epic Dairy Free Ice Cream Spots To Cool You Off This Summer
No-Churn Coconut Cashew Ice Cream
Get more like this—Subscribe to our daily inspirational newsletter for exclusive content!
Photos: Colette Goguen