Sprouts are powerhouses of energy, and growing them at home is an extremely simple process, taking a maximum of 6 days. Growing sprouts at home saves money, and provides you with ludicrously fresh, live food–with minimal effort.
1. Buy organic Alfalfa seeds at your local health food store. I bought 8 ounces of seeds for about $7.00. This will save you tons of money in the end, because a small 6 ounce carton of organic Alfalfa sprouts is almost three dollars!
2. Find a container with a lid, be it a mason jar, plastic ware, or a special sprout growing container. It would behoove you to have a mesh strainer, or fine mesh you can place on top of the container for the draining process. I didn’t have one, so I just kept the lid on most of the way and tilted the container. It worked well, but a mesh strainer would be much faster!
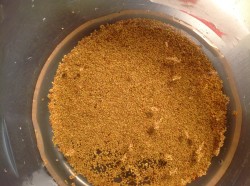
3. Take a couple tablespoons of sprout seeds and place them in your container. Pour enough filtered water to completely cover the seeds. Loosely put the lid on and let the seeds sit in a warm, dark place for 4-24 hours, draining, rinsing, and refilling the water every 12 hours. Be sure to displace the seeds when you rinse them to make sure mold does not grow
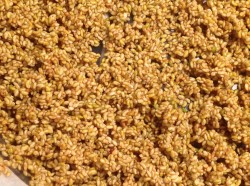
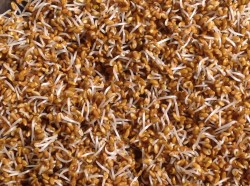
4. After the initial soak, continue to rinse every 12 hours for the next two days, and place them in a warm dark place, away from direct light. Don’t add in more water once you rinse them, let them air out and use a spoon to spread them out so they don’t clump together. They will start to grow little white roots at a rapid rate after the first day–it’s adorable, exciting, and kind of made me feel bad for wanting to eat them…
5. Once green leaves start to show on the Alfalfa sprouts, they are ready to be placed in indirect sunlight. Windowsills work wonderfully. Continue to rinse and drain the sprouts every 12 hours. After the 4th to 6th day, they are ready to harvest, and will keep in the fridge up to 3 days.
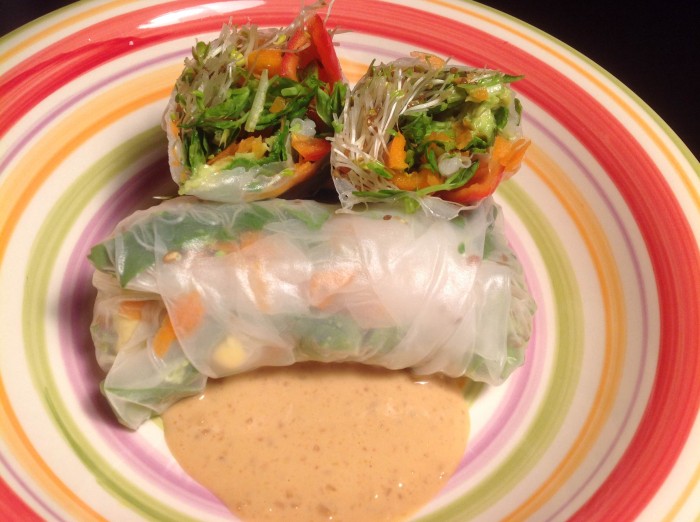
Spring Rolls with Peanut Ginger Dipping Sauce
Ingredients
Spring roll wrappers (available in most grocery stores)
Veggies of choice–I used Alfalfa sprouts, Snow Pea sprouts, Spinach, Broccoli, Baby Bell Peppers, Avocado, and Shredded Carrot
Organic Peanut Butter (the kind that is only peanuts and no other ingredients)
3/4 tsp Organic Vegan Cane Sugar
1 tsp Braggs Liquid Aminos
2 1/4 tsp Ginger Paste
1/8 c Water
1 1/2 tsp Rice Wine Vinegar
21 drops Sriracha
3 squeezes of Lime
Directions:
1. Place 3 heaping spoonfuls of Peanut Butter in a small bowl, add warm water, sugar, Braggs, ginger paste, rice wine vinegar, and Sriracha. Mix well and set aside.
2. In a large bowl or pot, pour warm water and place a spring roll wrapper in it to soften. Once it is translucent and completely pliable–and difficult to handle, take the wrapper out of the water and put it on a cutting board. Try to keep the shape of the wrapper! It’s hard the first few rolls but it gets easier, I promise 🙂
3. Fill the middle of the wrapper with your veggies and fold the top and bottom half of the wrapper. Roll it up like a burrito and you’re done!
Also by Jessica: Benefits of Carob – plus Raw Cherry Carob Brownie Recipe!
Health Benefits of Miso – plus Raw Wrap and Miso soup!
__
Photo: Jessica Ferguson


