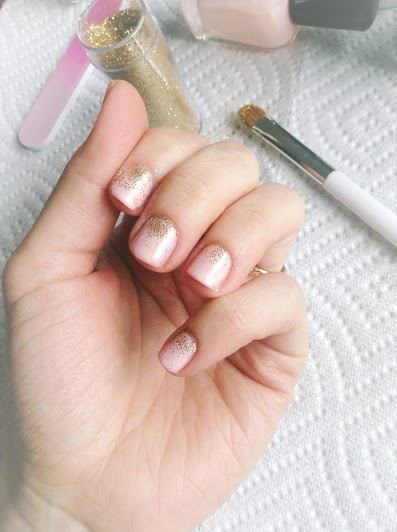
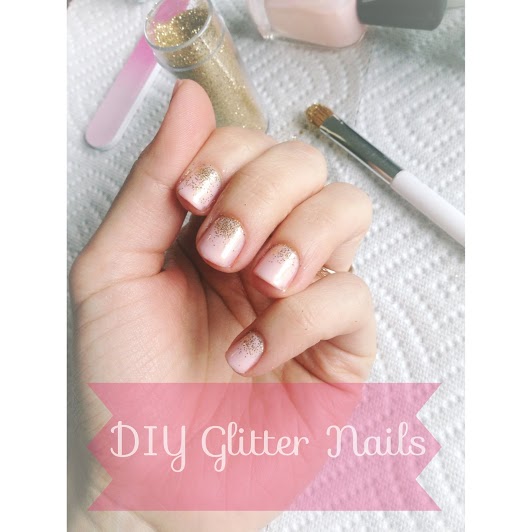
Arguably, glitter is always in season, but I think Spring is an excellent time to flaunt your glitter love with these sweet, easy DIY Glitter Nails. Adding glitter spices up any classic pastel mani—perfect for the first outdoor party of the season. Using loose glitter gives each nail a different, organic look. Admittedly, it can be a bit messy, but you actually have more control using a brush dipped in loose glitter than you do you using a glitter polish. Plus, as long it’s anywhere on your nail, it’s hard for glitter to look “wrong.”
You’ll Need:
base-coat
polish of your choice
topcoat
loose glitter
eyeshadow brush
paper towel
a twinkle in your eye…just kidding. Don’t get glitter in your eyes 🙂
Directions:
1. Set up nail station by placing a paper towel under your tools (this will make clean up later much easier). Apply a base-coat and two coats of color. I used “Erica” by Zoya, a lovely 5-free nail polish. (Learn more about non-toxic nail polish and read my review of Zoya here.)
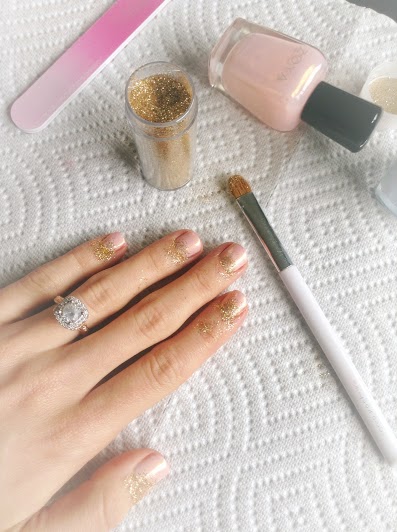
2. While your nails are still wet, dip a small eyeshadow brush in a pot of loose glitter. Tap off excess. Gently dab around the “crescent moon” of your nail. Add more if necessary. Don’t worry if you get a lot on your skin—it’s part of the process.
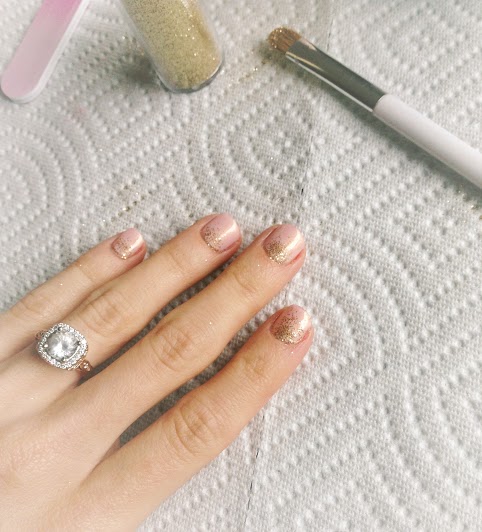
3. Allow your nail polish to dry for a few minutes then gently wipe away the excess glitter from your skin with a damp cloth. Apply a thick layer of topcoat and let dry. Voila! Easier than it may look 🙂
4. Wipe any glitter off your tools (eyeshadow brush may be washed in warm, soapy water). Carefully carry your glitter-laden paper towel to the trash and dispose. Stress-free cleanup!

I especially love this glitter mani when the weather is sunny–you’ll see what I mean when you step outside 😉
Also in Spring Beauty: DIY Spring Pedicure
Photos: Mary Hood


