Lipstick and eyeshadow are my most frequent beauty splurges. (Well…if you don’t count nail polish…or perfume.)
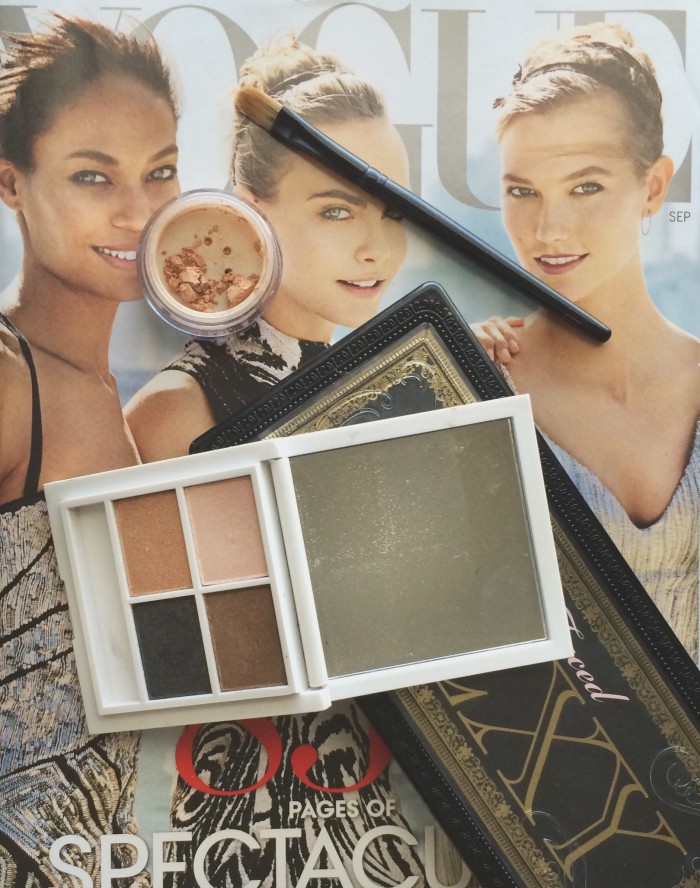
In particular, I’m drawn to eyeshadow palettes—there’s something about all of the different colors placed in one chic box that makes my inner artist hyperventilate. Aside from the combination of colors, there’s all the varying textures over which to marvel: Shimmer. Matte. Glittery. Creamy.
And the joy doesn’t end there. When applied correctly, eyeshadow can emphasize the natural beauty of your eyes and transform our look (smoky eye, anyone?). This post will be focusing on the former: choosing the best eyeshadow formula and application technique to flatter what makes your eyes unique and wonderful.
Chose the Right Formula.
For the most part, this will depend on what you’re comfortable working with. If you abhor pressed powder eyeshadow, you don’t have to bother with it. But formula selection will also depend on 1.) your skin type, and 2.) how enduring you need your shadow to be.
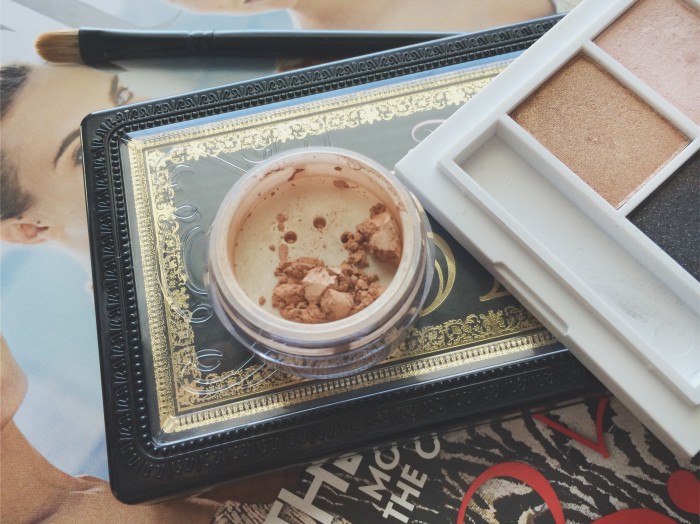
Pressed powder and loose powder. Eyeshadow is most often found in pressed powder palettes, which are best applied with a brush. (See my brush recommendations.) Loose powder eyeshadow works much like pressed powder, but you can potentially build color faster by applying thick layers of loose powder. On the flip side, loose powders can be a little messy.
Either type of powder formula is suitable for normal to oily skin. (You know your skin is oily when your eyeshadow collects in the crease of your eye after a few hours!) For insurance against oily skin, I use an eyeshadow primer before I apply powder. If you have dry skin, powder formulas may be difficult to blend and may emphasize dryness and fine lines.
Cream. Cream eyeshadows are best left to those on the drier end of the skin type spectrum. Oiler skin can cause them to crease almost instantly. Most cream eyeshadows have sheer coverage and may be applied with a stiff brush or fingertip.
Gel. Gel shadows are probably the most long lasting formulas available and are often waterproof. These are best reserved for oily skin or formal events. Gel eyeshadow is best applied with a small, stiff brush. Gel shadow may also double as eyeliner.
Consider the Shape of Your Eye.
Keep in mind an important rule of contouring: applying darker shades will create the illusion of recession or smallness. For example, to create a “deeper” cheek hollow, apply darker powder under your cheekbones. Likewise, you can apply dark shadow to the crease of your eye to create the illusion deeper eyes.
Applying lighter shades will highlight features or bring them forward. For example, applying highlighter to your cheekbones will make them appear more prominent. Likewise, applying a highlighting shade to the inner corners of your eyes, you can “lighten” this normally shadowy area.
Types of eye shapes:
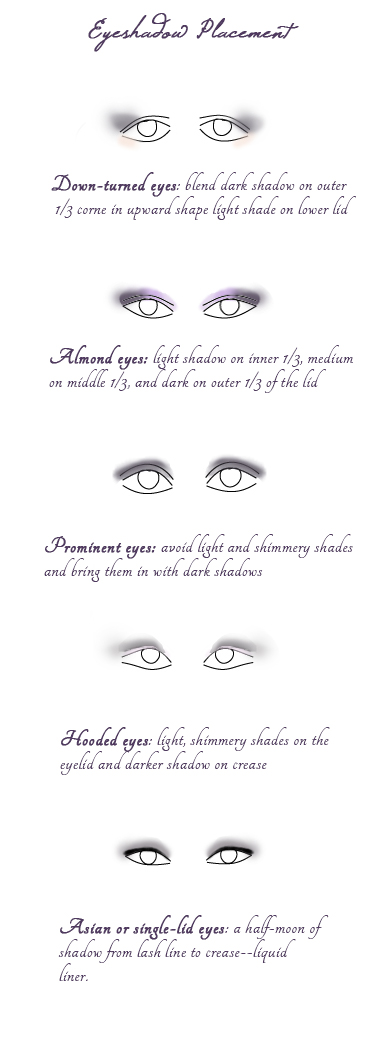
Down-turned eyes. Eyes that tilt down at the outer corners can be “pulled up” by applying a dark shade on the outer third of the eyelid and carrying the shade towards the end of the brow. Apply a lighter shad under the outer third of the lower lash line to give the area a “lift.”
Almond eyes. Contour almond eyes by placing a lighter shade on the inner third of the eyelid, a medium shade on the center of the eyelid, and a darker shade on the outer third of the eyelid.
Prominent eyes. To prevent eyes from appearing too prominent, avoid light and shimmery shades. Stick to medium and darker tones that will “push them back.” Bring your brow bones forward by applying a highlighting shade under your brows.
Hooded or deep-set eyes. To bring eyes forward, apply light or shimmery tones on the eyelid and a darker tone in the crease to create a sense of depth.
Monolid eyes (or classic Asian). Create a half-moon of color from lash line to crease. For added emphasis, line eyes with liquid eyeliner, and don’t forget to curl your lashes.
Types of eye placements:
Average. The distance between the inner corners of the eyes to the center of the nose is roughly equal to that between the inner corner of the eyes and the pupil when eyes are facing forward. Apply shadow based on your eye shape (above).
Close-set eyes. The distance between the inner corners of the eyes to the center of the nose is smaller than that between the inner corner of the eyes and the pupil when eyes are facing forward. Avoid darker tones on the inner corners of your eyelids; instead use a light/ shimmery shadows in the corners of the eyes to make them appear more widely set.
Wide-set eyes.The distance between the inner corners of the eyes to the center of the nose is wider than to that between the inner corner of the eyes and the pupil when eyes are facing forward. If you’d like to make your eyes seem closer together, apply darker shadow to in the inner corners of the eyes and lighter shadow on the outer third of the eyelid.
Application tips:
1. Prep you eyelids by creating a “canvas” with foundation or eyeshadow primer. Use your finger or a small, firm brush to spread the formula.
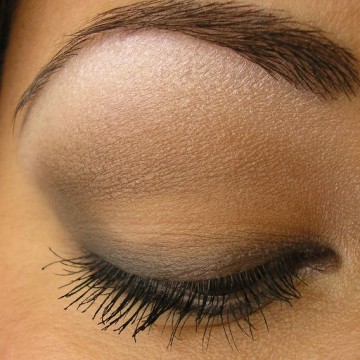
2. Using a medium, fluffy brush, pat skin-toned shadow on the entire lid.
3. Using a similar brush, sweep color from the outer corner of the eye to make a semi-circle of color.
4. Using a small, fluffy brush, apply a dark shade (if using) to the outer third of you eyelid.
5. Using a similar brush, pat a light, shimmery shade (if using) around the inner corner of the eye.
6. Using a blending brush, apply a highlighting tone along the brow bone.
7. Finish with eyeliner (if using) and mascara.
How do you like to accentuate your eyes? Do tell!
More Beauty Secrets: Best Ways to Care for Your Lashes
Photos: Mary Hood, kuuipo1207 via Flickr; Peaceful Dumpling

