It’s nothing new that, in the field of nutrition, juicing is a hotly contested subject.
For every article / video that touts the benefits of juicing, there are just as many articles that say juice cleanses are pointless, ineffective, or downright unhealthy.
With all this conflicting data and research, it’s hard to know how to feel about juice cleanses and harder still to try it for yourself when the average commercial juice cleanse package costs well over $100. While I could see myself spending $100 on a product that was fully tested and confirmed to be effective for proper nutrition, spending $100 on something that may or may not be good for you is a lot of money for any Millennial just starting out in their career.
Still, after watching Cassey Ho’s positive video on her personal juice cleanse experience, I was desperate to try a juice cleanse for myself. I briefly considered cheaper juice alternatives like Nake Juice, but discovered that those juices may not be the healthiest option and actually contain high amounts of calories.
After ruling out all the juice cleanse kits currently on the market, I resorted to what I do best: DIY-ing it.
Armed with my grandmother’s old vintage juicer from the basement and a determination to keep my juice cleanse under $50, I set out to create my own personal juice cleanse that was both cheap and effective—resulting in savings of over $50+ with one particular savvy, DIY secret I’ve included below.
The Researching Stage
The first tip I learned is that while juicing on a budget, it’s important to pick recipes with lots of water-rich fruits and vegetables.
While a piece of celery will result in a large amount of juice, juicing a fruit such as a banana will yield a much smaller finished product.
For that reason, I decided to research recipes containing some of the most water-rich fruits and vegetables, such as:
- Spinach
- Apples
- Pineapples
- Oranges
- Carrots
The Planning Stage

Next, I looked up the general formula of juice cleanses, which contain a mixture of nut milks, green juices, orange juices, and red juices. Most juice cleanse plans follow a schedule of one juice every two hours, for a total of five to six juices a day.
After looking through dozens of recipes, I drew inspiration from IHateMealPrep.com’s and PlatingsAndPairings.com’s juice cleanse recommendations, and tweaked a few of their recipes to maximize on budget-friendly produce:
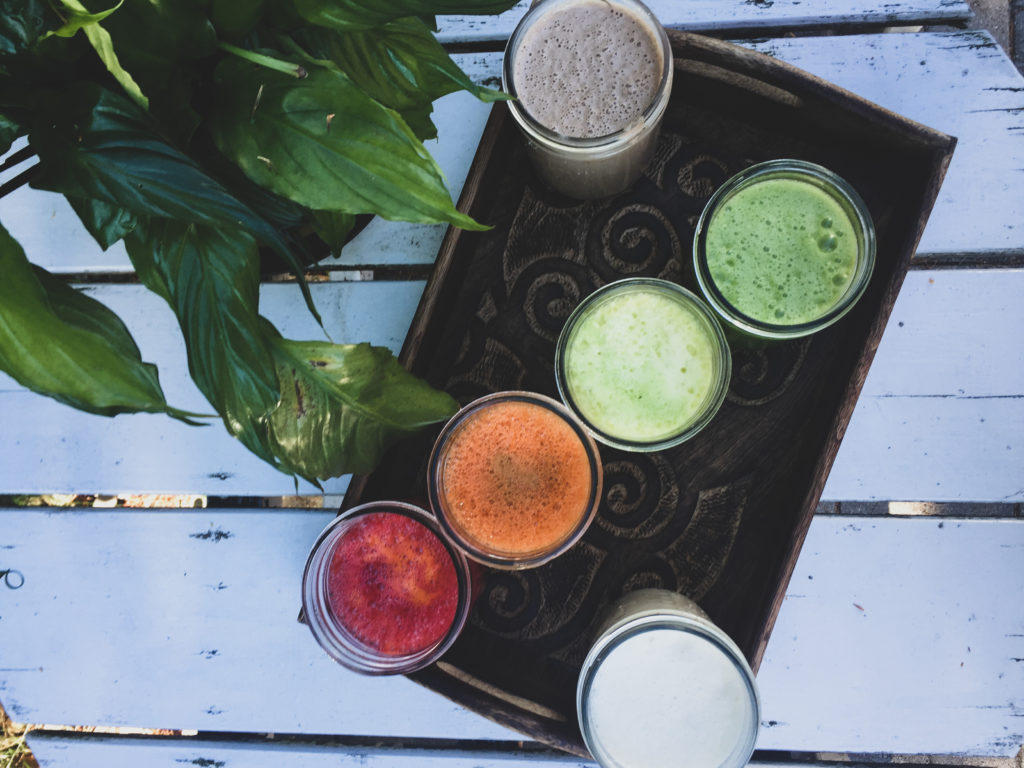
- Vanilla Almond Milk—vanilla extract, almonds, plant milk, raisins (most recipes call for Medjool dates, but that was beyond my price point so raisins it was!)
- Green Juice—green apples, cucumber, lemon, spinach
- Orange Juice—oranges, carrots, ginger
- Yellow Juice—pineapple, green apple, mint (I already had mint in my garden, so I saved extra money that way)
- Red Juice—beets, carrots, oranges
- Chocolate Walnut Milk—cocoa powder, vanilla, walnuts (these were already in my pantry to cut down on costs), plant milk, raisins
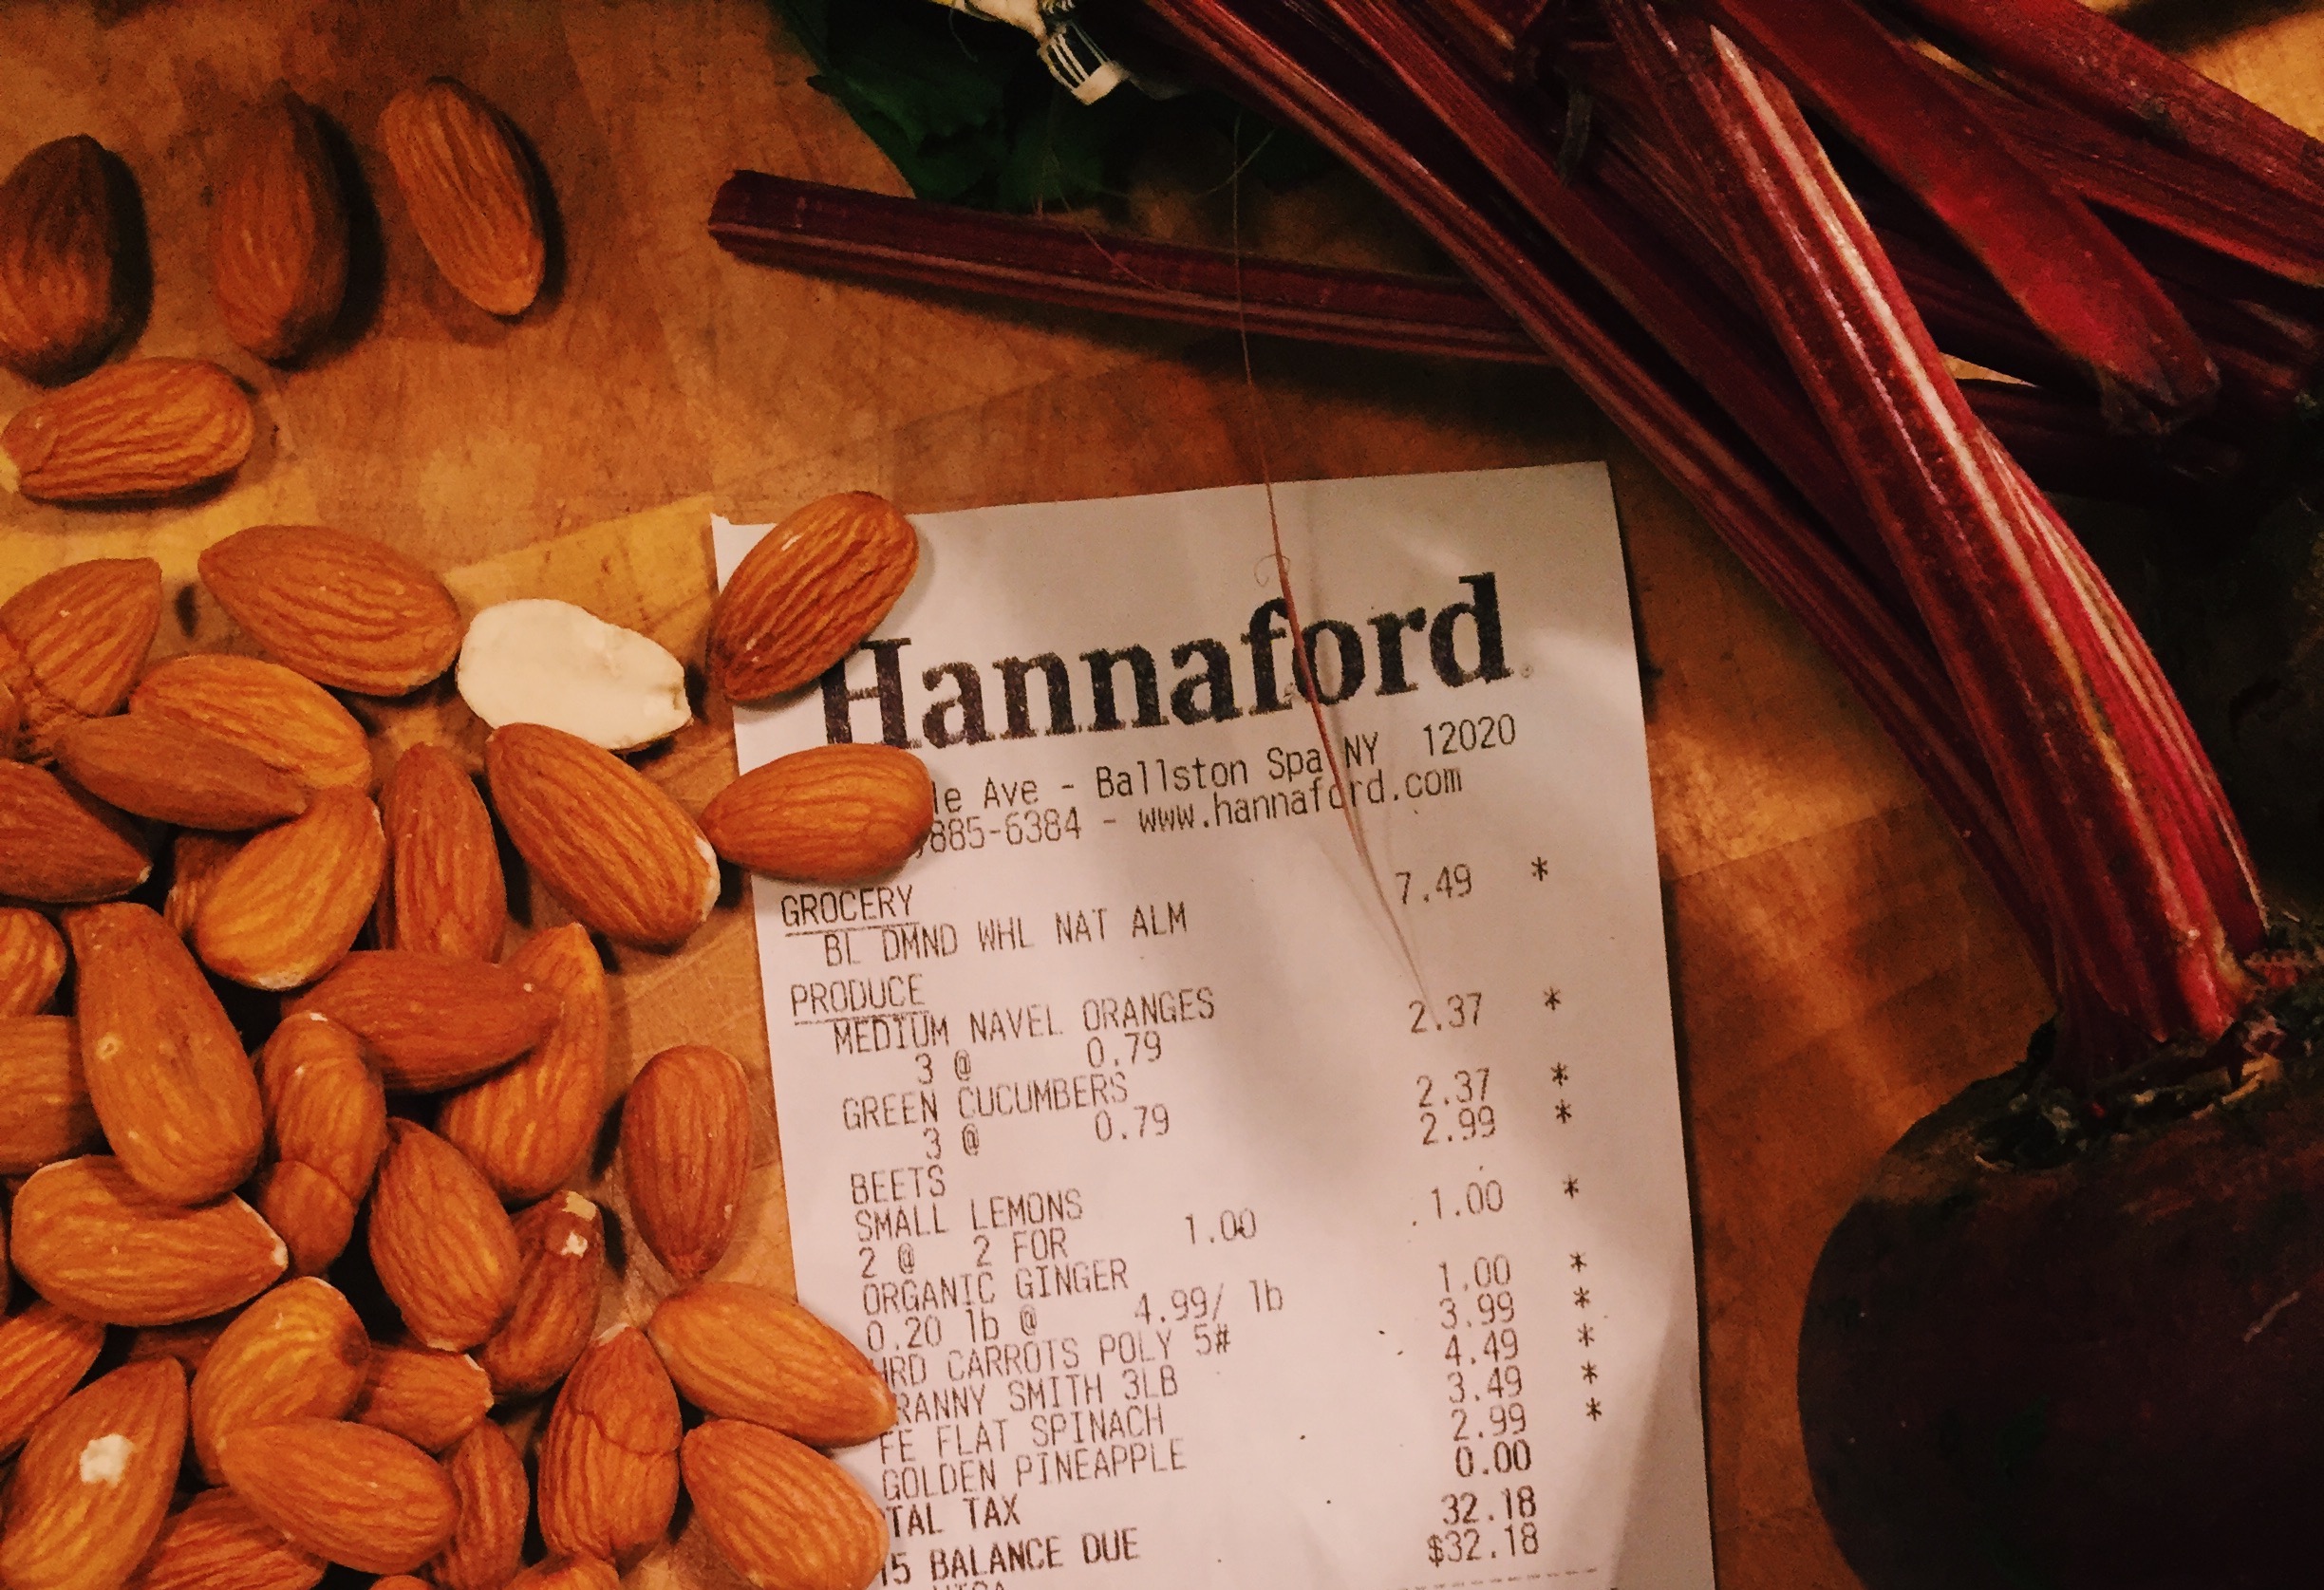
Besides the vanilla extract, cocoa powder, walnut, and mint that I had at home, the price of the remaining ingredients (including almonds) came to a total of $32.18—well under my desired amount! After filling my basket with produce, I found I had plenty of juice to keep me full throughout the three days, and some leftover spinach and apples to spare as well.
The Juicing Stage

This was my favorite part!
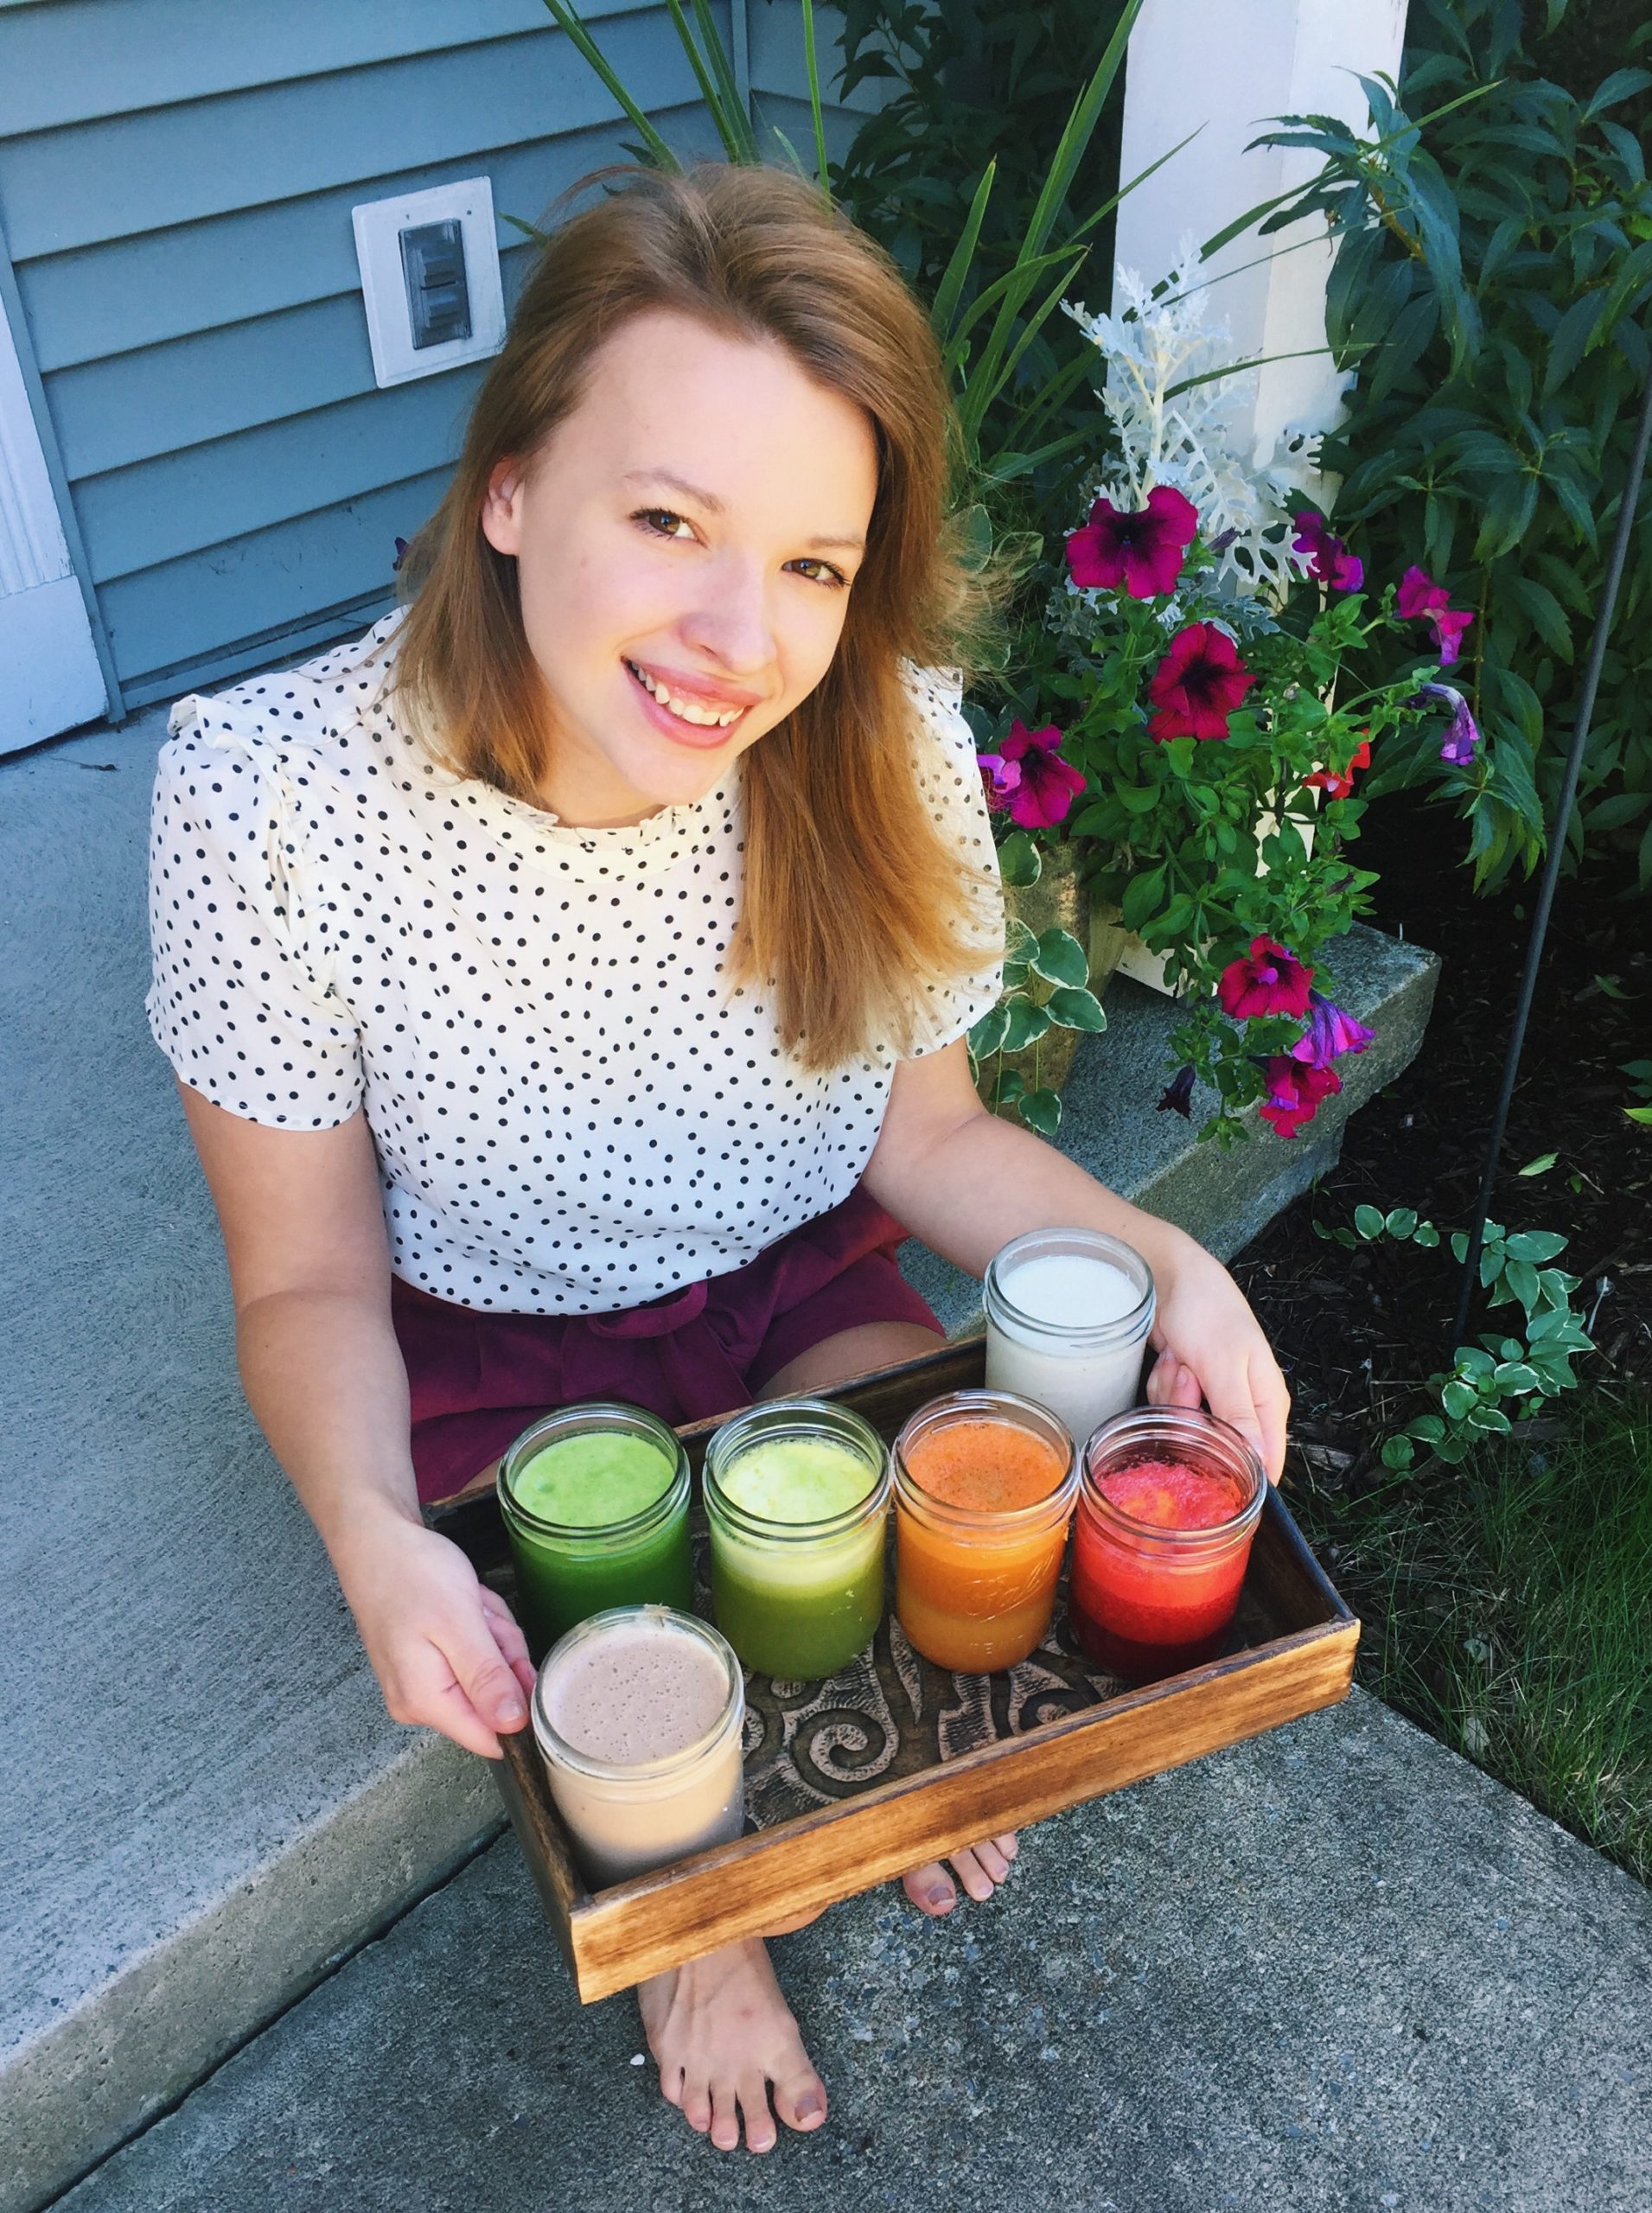
I loved waking up each morning to prepare my rainbow array of juice for the day, watching the contents of juice scraps extract itself from the machine while the fresh and colorful juice dribbled into mason jars. At the end of juice-making, that first swig of cool, refreshing juice in the morning made all the hassle worth the effort.
Although I expected to feel sluggish and hungry due to the lack of solid foods in my system, I felt surprisingly full for the whole 72 hours. By the end, I finished the juice cleanse three pounds lighter and filled with so much delicious and fresh produce to brighten up my body. It felt strange to go back to “real” food after, since my body seemed to already adjust to a produce-focused diet within those three days.
***
Although DIY juicing can be time consuming, there’s something so satisfying about making the juice yourself and customizing it to your own taste preferences. And, besides being a fun and colorful experiment, it left me feeling energized and excited every single day. While I recommend you consult a nutritionist before you try your own juice cleanse, I hope this article inspires you to create a cleanse that’s both delicious and budget-friendly.
Love to juice? Let me know your own experiences with juicing and any budget-saving tricks you have in the comments below.
Also by Dana: How Life In Quarantine Helped Me Cultivate A Growth Mindset
Get more like this—Sign up for our daily inspirational newsletter for exclusive content!
__
Photo: Dana Drosdick


