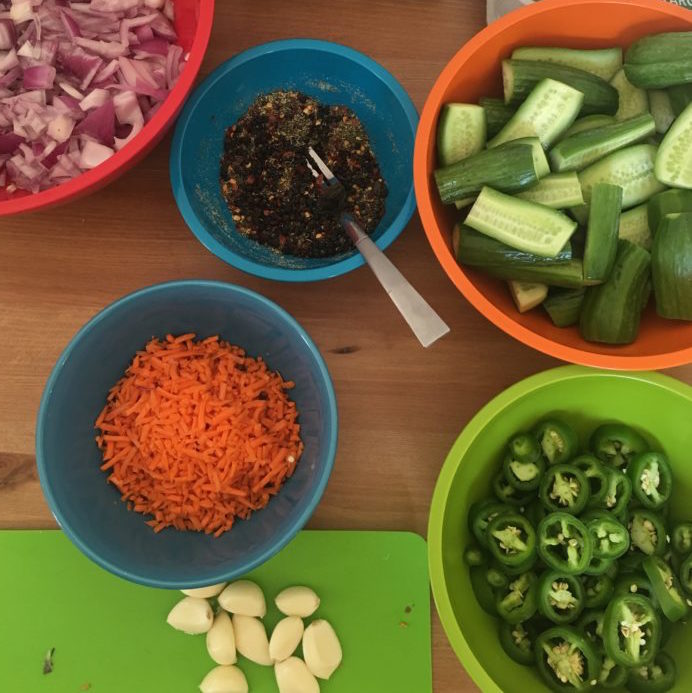
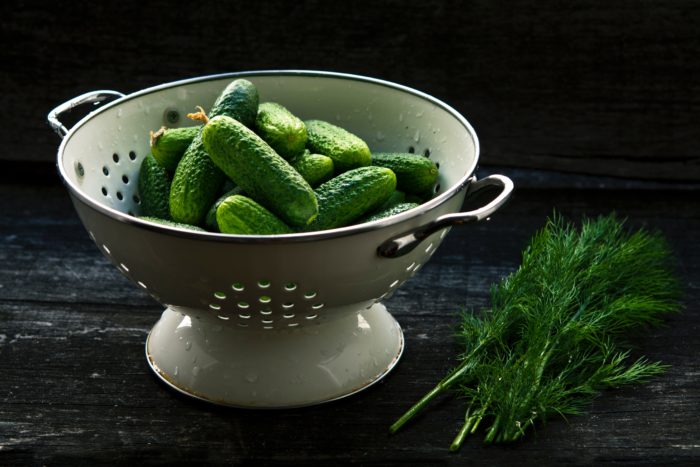
 Back home in the Midwest, I would look forward to every summer when my mom would be faced with an overabundance of cucumbers and make jars of “fridge pickles.” As an adult, I’ve come to appreciate the wide variety of pickled and preserved foods out there and recently begun to experiment with making my own. It’s actually super cheap and easy to make your own pickled or fermented foods at home!
“Pickling” vs Fermenting vs Canning
There are a variety of ways to preserve foods at home, and each method has its own unique benefits and drawbacks. Here is a brief description of each of the most common methods.
Fridge Pickling
When talking about “pickling” in this post, I am referring to fridge pickling or “cheater pickles” as we like to call them. True pickling is a bit more complex. Fridge pickling is simply the process of packing mason jars with vegetables and spices of your choice and then pouring in a simple brine made of boiled water and vinegar. All you have to do is let the jars cool, and then cap them and store in the fridge for up to several weeks!
Fermenting
Fermentation is a more complicated process, and you need a few more tools to do the job properly. To start, you’ll want to at least have a wooden tamper, weights to go inside the jars, and a few rubber pickle pipes. Fermentation is a metabolic process where growing “good” bacteria converts the natural carbohydrates in vegetables into organic acid. The results are delicious, but producing an edible product can be a bit trickier as bad bacteria often grow along with the good.
Canning
There are two types of canning: pressure canning and heat canning. The process for both is pretty similar. Food is packed into jars which are then boiled and capped with special lids. The heat and pressure destroy bacteria which would cause the food to spoil, and the gas is released through the lids. Canned food can be stored on the shelf for months or even years! My mom often did this with strawberry jam in the summers as well. I have not tried any canning recipes recently, so the instructions below will just be for “pickled” and fermented foods, but this is a great food preservation option as well!
Pickling and Fermenting Health Benefits
The health benefits of fermentation have been known for thousands of years, and these types of foods are definitely making a comeback! The reason they are so beneficial for gut health is that fermented foods contain loads of probiotics – the good bacteria that aids in digestion. Probiotic-rich foods can help not only with indigestion, but can also promote weight loss, boost the immune system, and can even help fight colon cancer!
Pickled foods, on the other hand, are not rich in probiotics. However, their health benefits come from the fact that you consume them in their raw state. Cooking fruits and vegetables actually eliminates some of the important nutrients they provide, including antioxidants which are essential in reducing dangerous free radicals in the body.
Easy Pickling and Fermenting Recipes
Here are four of my favorite super easy, super tasty pickling and fermenting recipes that you can do on a Sunday afternoon.
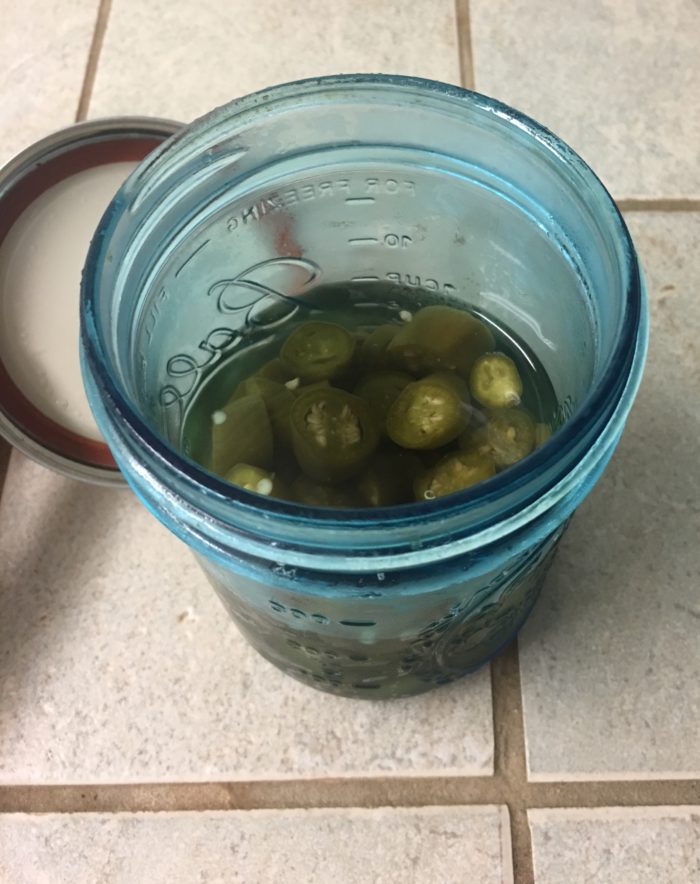
Fermented Jalapenos
What you need:
- One large mason jar with a lid
- Jar weight
- Pickle pipe
- Grape leaves
- 8-10 fresh jalapenos
- Sea salt
What you do:
- Chop the jalapenos and pack into jar with two teaspoons of sea salt
- Fill the jar with water, leaving about two inches of space at the top
- Place a grape leaf on top of the jalapenos to prevent them from floating up (when fermenting, always remember: “If it’s under the brine, you’re fine!)
- Add the jar weight on top of the grape leaf, and place the pickle pipe on top of the jar (this will help the gasses escape while the peppers are fermenting)
- Let it sit for 3-4 days, then go ahead and taste! If you want a stronger flavor, you can leave it for a few more days. When you’re satisfied, remove the pickle pipe, weight, and grape leaf and store the jar in the fridge with the lid on.
What it’s good for:
- Sandwiches
- Tacos
- Nachos
- Rice bowls
Fridge Pickles
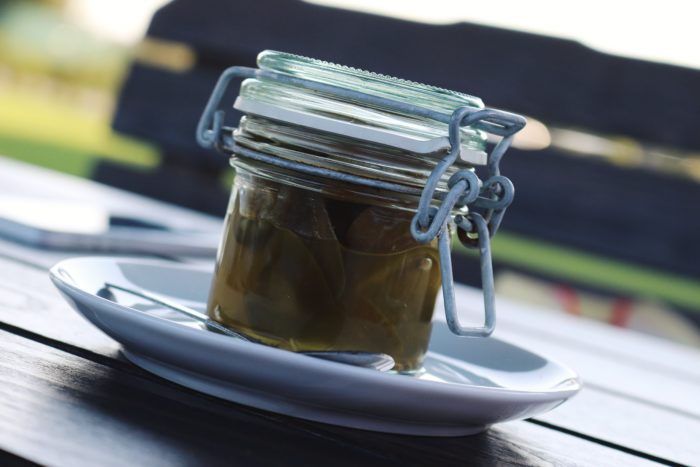
What you need:
- Two large mason jars with lids
- 12-15 Persian/pickling cucumbers
- Sea salt
- 4 cloves of garlic
- Fresh Dill
- Whole mustard seed
- Apple cider vinegar
*You can add pretty much whichever herbs and spices you prefer! We’ve even tried dried hot peppers. Feel free to experiment!
What you do:
- Chop the cucumbers into whatever pickle shape you prefer
- Chop and peel the garlic cloves
- Pack the jars with pinches of dill, mustard seed, chopped garlic, and the chopped cucumbers
- Boil equal parts water and apple cider vinegar, and add a few hefty shakes of sea salt
- Pour brine into jars, leaving a little room at the top
- Let the jars cool, then cap and store in the fridge
What it’s good for:
- Snacking!
Sauerkraut
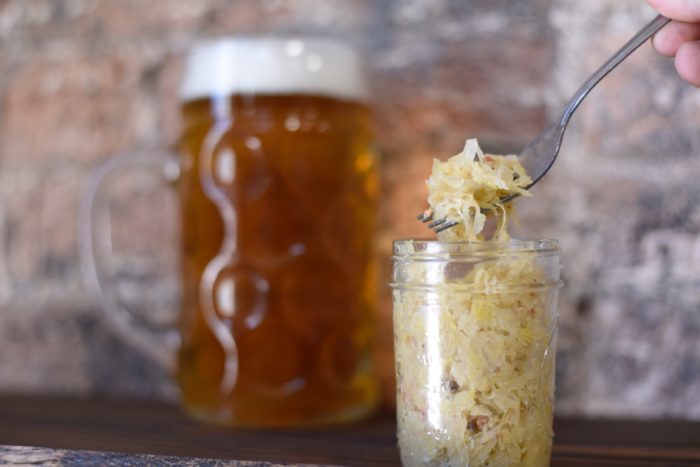
What you need:
- One quart-sized mason jar with lid
- Kitchen scale
- Jar weight
- Pickle pipe
- Wooden tamp
- One head of cabbage
- Sea salt
What you do:
- Finely chop the cabbage and weigh out 800 grams (depending on the size of the cabbage, you will most likely have more than a jar’s worth!). Reserve one large outer leaf.
- Massage the cabbage with one tablespoon of salt
- Taste chopped and salted cabbage to make sure the flavor is to your liking, and leave for a few minutes so the salt can bring out more of the cabbage’s natural juice
- Pack the chopped cabbage into the jar, and vigorously tamp down until there is enough brine to completely cover the cabbage
- Lay the reserved outer leaf on top of the brine to prevent any pieces floating up, and add the weight on top
- Place the pickle pipe on top of the jar, and let sit for one week.
- Taste test the kraut, and if it’s to your liking you can remove the pickle pipe, weight, and outler leaf, screw on the lid and store in the fridge. You can let it sit for a few more days for a stronger flavor as well.
*If mold forms on top of the weight, this is okay! It’s gross, but just scrape it off. The sauerkraut underneath the brine will still be fine. I would highly recommend researching additional recipes and information as well, as it is common for sauerkraut to go bad your first time trying it.
What it’s good for:
- As a topping on veggie burgers
- As a side dish
Pickled Red Onions
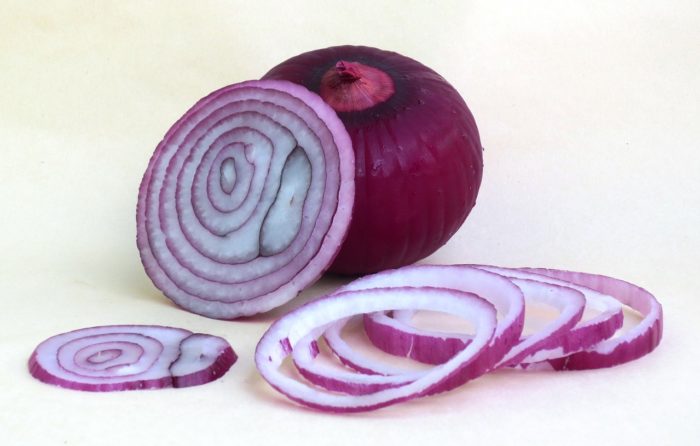
What you need:
- One large mason jar with lid
- One large red onion
- Sea salt
- Apple cider vinegar
- 2 cloves of garlic
What you do:
- Peel garlic cloves and chop onion into small pieces
- Pack the jar with onion and garlic
- Boil equal parts water and apple cider vinegar with several shakes of sea salt
- Pour brine into jar, leaving a little room at the top
- Let the jar cool, the cap and store in fridge
*Some recipes also call for sugar which can add to the flavor nicely
What it’s good for:
- As a topping on almost anything!
*We tried fermenting red onions, and I would not recommend it! It’s possible we did something wrong, but the smell was unimaginable and we ended up tossing both baches.
Also by Heidi: 4 Easy Vegan Snacks To Prep On Sundays For Healthy Grazing Throughout The Week
Related: Here’s What Happened When I Ate Fermented Foods Every Day For A Week
Get more like this—Sign up for our daily inspirational newsletter for exclusive content!
__
Photo: Unsplash; Heidi Thiel

