As a lover of Lush Cosmetics (the company and the products) and a chronic hair-dyer, I couldn’t help but try their $28 henna hair dye. It’s affordable (compared to the $150+ cost of having your hair done at a salon), cruelty-free (as all of Lush’s products are), vegan, naked (meaning it comes without any plastic or bulky packaging), and is formulated without harsh chemicals and/or synthetic dyes—which have been shown to increase your breast-cancer risk.
Henna 101
I had heard of henna before, but only of the traditional skin application. After doing a little bit of research, I learned that henna, which is prepared from the plant Lawsonia inermis (informally called the henna tree), has been used to safely color the body AND hair for centuries.
I was totally blown away (and excited) when I realized you could use henna to dye (or stain, as you’ll soon find out) your hair. Not only is it an all-natural alternative to commercial hair dyes for those of us who like to switch up our hair color from time to time, but Lush’s henna also acts as a hair *treatment*. According to Lush, their henna dyes work to deep-condition your hair thanks to the addition of cocoa butter and essential oils.
I was sold.
Why Use Henna?
Here’s what Lush has to say about swapping classic dyes for henna:
Commercial hair dyes contain a mix of chemicals that work to penetrate the hair’s cuticle to change the color of your hair. And although you might get the desired color you’re looking for, these chemicals can cause the layer of protective cells on your cuticle to become disjointed, making it difficult for sebum to travel down and hydrate the ends of your hair leaving it dry and brittle.
Henna is a safe, all-natural alternative. It works by simply staining the outside of each individual hair and acts like a protective layer on your cuticle. The color won’t wash out, but it will gradually fade over a period of one to six months.
Possibly the most important piece of information to note in that description is that henna stains your hair and that the color won’t wash out (completely, that is).
It. Is. Permanent.
I repeat, permanent.
In other words, if you’re one to regret changing your hair color, switch frequently from light to dark and vice versa, or are a bit spontaneous and would prefer to rock a different color every month, you might want to stay away. That said, if you have naturally darker hair and are looking to stay dark, you could always continuously swap between Lush’s 4 types of henna.
For natural blondies and lighter-haired folk, attempting to go lighter again after applying henna can be a huge hassle. Apparently, it is highly discouraged to apply synthetic dyes on top of henna-dyed hair, so if you’re committing to trying henna, you’re really committing.
At least for a while. *wink*
Prepping and Applying the Henna
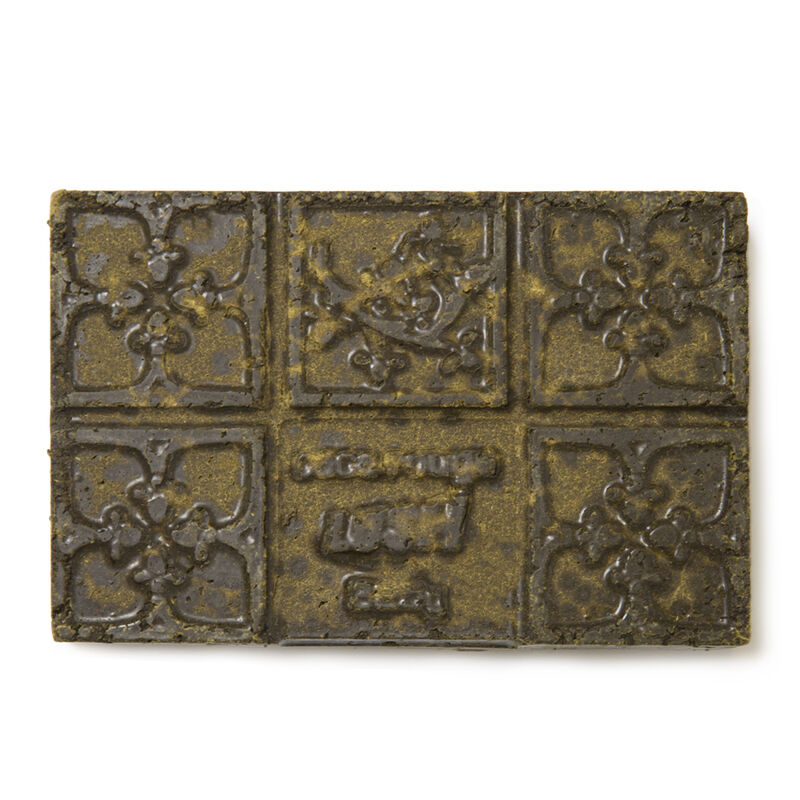
Rouge Henna from Lush
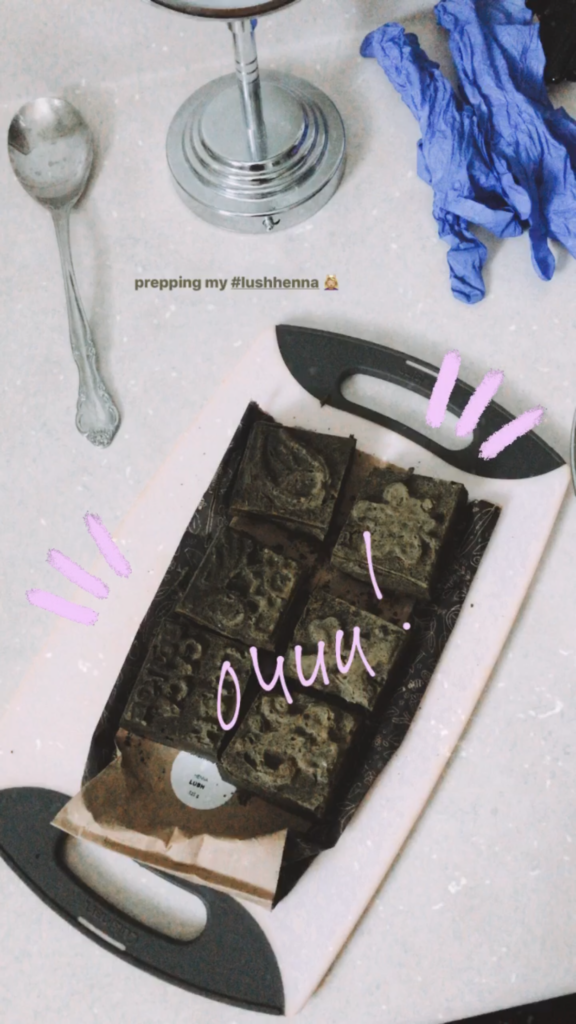
The henna comes in a meltable, self-preserving brick (pictured above) and in 4 colors: rouge (red), marron (chestnut), brun (brown), and noir (black). I chose rouge, inspired, of course, by Christina Hendricks’s gorgeous, fiery locks.
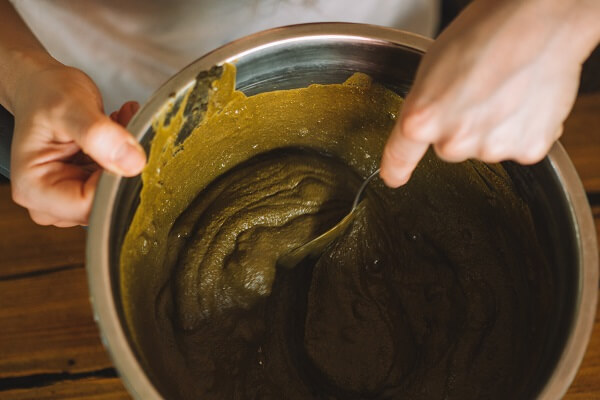
To prep the henna, all you need to do is chop the brick into smaller pieces, add some boiling water, and stir until the mixture has a browny-like consistency (below). After that, you’ll apply it straight to your head (I used my hands), making sure not to miss any pieces of hair and really working it into the strands. It’s quite simple!
For thin-haired people such as myself, you likely won’t need to use the entire slab—I actually only used 3 out of 6 of the bricks, leaving me with lots of henna for future applications.
Lush has a handy how-to guide on their website, and if you order the henna online (which is what I had to do as there isn’t a Lush in my area, sadly), they will also send you some instructions and rubber gloves, which you’ll need for the application process.
It’s easy, but it’s also messy. You will definitely want to cover the floor with some newspaper to catch the little falling bits of dried henna. Oh, and be prepared to do some cleaning up afterwards.
As a natural light blonde (below), I wasn’t entirely sure how the color was going to turn out. It was somewhat nerve-racking while I sat in my house for 3-or-so hours with my hair wrapped up in a shower cap, while the henna permanently coated every strand of hair, and while I had virtually no idea what to expect to look like when the process was finished. Queue the mild freak-out. *Eeek*
The Aftermath
The good news is, I LOVE it…
at least now I do.
When I first washed off the henna (another very messy process) (do NOT open your eyes while in the shower… just don’t do it), my hair was a cartoonish orange-red. While I did not hate it by any means (some people might even prefer that bold look), it was not exactly what I was expecting.
A few days later (after a couple more washes), I was exuding some serious (and cute) Kim Possible vibes.
One week later, my hair is a beautiful, warm, natural-looking ginger/copper colour.
The Verdict
Would I do it again? Absolutely.
For $28, this is an affordable, all-natural, safe and easy way to colour your hair. As long as you’re okay with committing to the colour (whatever it may be!) for a while, you can’t go wrong.
Try it out, my beautiful friends!
–
Have you ever used henna to colour your hair?
Would you try using henna after reading this article? Let us know!
__
Photo: all product photos courtesy of Lush.ca


