Lately, I’ve been embracing the less is more look. A swipe of balm here…a flick of mascara there…
I’ve been of a similar mind as far as my wedding day beauty is concerned. Of course, I’m aware that I must wear somewhat heavier makeup for the sake of photos. I’m still working on how to do this without looking too pancakey—it’s a fine line!
I’m considering wearing false lashes to help define my eyes in my photos—and to feel oh-so-glamorous ’cause I just love falsies! When applied correctly, they can give you an old Hollywood doe-eyed look—and all it takes is a dab of glue, a steady hand, and a little patience.
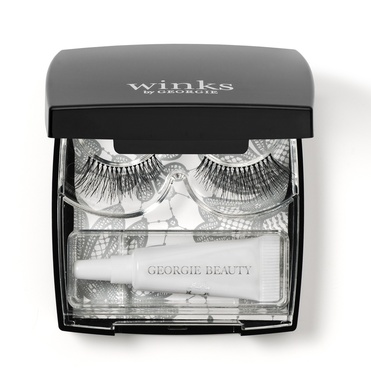
In my research on acrylic lashes (yes, research!), I stumbled across a luxe, vegan brand of false eyelashes called Georgie Beauty. All lashes are handmade, cruelty-free, and come in recycled packaging. What’s more, their eyelash glue is the first of its kind to be dermatologist-tested. Georgie lash adhesive is also free of phthalates and formaldehyde. I eagerly purchased Georgie’s Deux Ceours, The Luxury Edition Bridal Compact. Sounds like a perfect match, no?
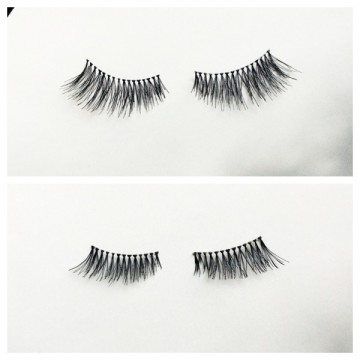
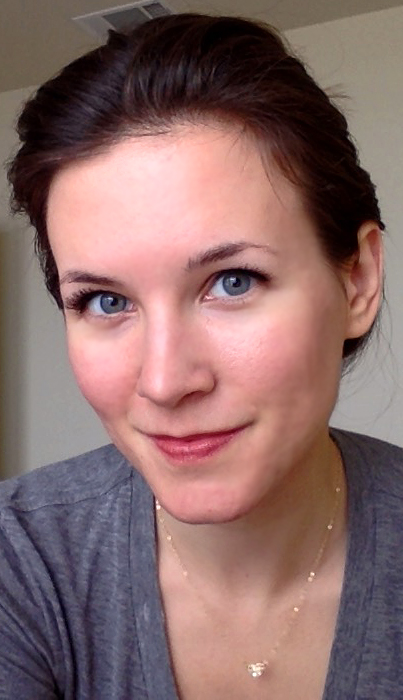
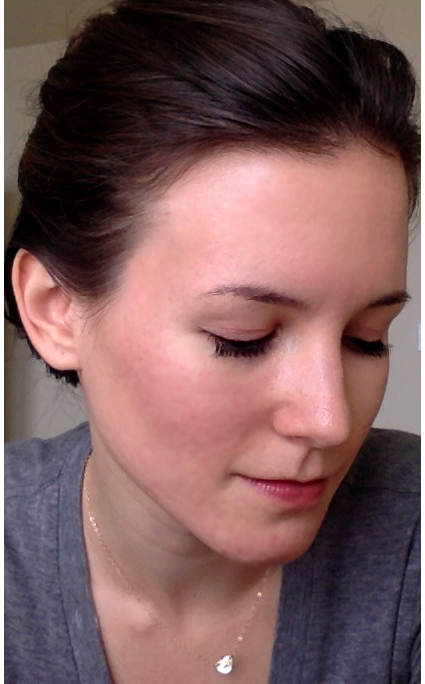
Well, sort of. Perhaps I have small eyes, but these lashes are huge. When I first tried them on, I looked like a flesh-and-blood Kewpie doll. My lashes were too long and too bushy. So much for less is more!
But I didn’t completely despair. I new I could fix this with a little DIY. Off I went to do yet more lash research!
Here’s what I learned about customizing faux lashes:
You can trim lashes from either end. If you’re using tapered lashes, you can trim the lashes from the longer, thicker end for a softer look.
Be sure that the lash band isn’t too long for your eyelid. If the lashes start too close to your inner eye (where natural lashes are minimal), your false eyelashes will look more obvious and potentially cheapen your look. (Quel horreur!)
If your lashes are too long, you can carefully trim them. Just make sure that you’re trimming from an angle to maintain a tapered look. Lashes trimmed straight across are not even close to natural looking, as you can imagine.
Application tips:
1. Gently remove lashes from their compact using your thumb to roll the strip away from the plastic.
2. Squeeze a small dab of lash glue onto the back of your hand. Drag the lash band through the glue, paying special attention to the ends of the band.
3. Bend and hold the lash band in a “U” shape. Hold for 45-60 seconds. This allows the glue to become tacky, making it easier to work with.
4. Take a deep breath. Apply the center of the lash band to the center of your natural eyelash line (rather than the eyelid itself). A thin line of eyeliner can act as a guide. You can use your fingers or tweezers to handle the lashes. (I prefer my fingers.) You may find it helpful to rest your elbow on a table or countertop to steady your hand. I’m also a fan of using a magnified mirror.
5. Using the rounded end of a makeup brush, tap the rest of the acrylic lash against your lash line. Hold down both ends until lashes are secure.
6. Apply mascara to your natural and faux lashes to “blend” them and create a more natural look.
7. To remove lashes, gently peel the lash band away from your natural lash line. Return your lashed to their compact for future use. Use eye makeup remover or olive oil to wipe away leftover lash adhesive.
More eye makeup tips and tricks: Emphasizing Eyes with Eyeshadow
Eyelash Care Tips for Longer Fuller Lashes
Perfect Arches: DIY Brow Shaping
Photos: Mary Hood


