I'll never forget the first time I came across baked blueberry oatmeal. I was working at a research station, and we were lucky enough to have an incredible chef, Chip, on board. He cooked the most stellar breakfasts. Well, all meals really, but the breakfasts were something else *looks longingly into the distance*.
One of his favourite dishes to make for us was a baked oatmeal dish. Berries were optional, cinnamon essential. Each time it was plated up, I'd spend what felt like an eternity enjoying that simple slab of goodness. It felt like such a treat to indulge in at breakfast time!
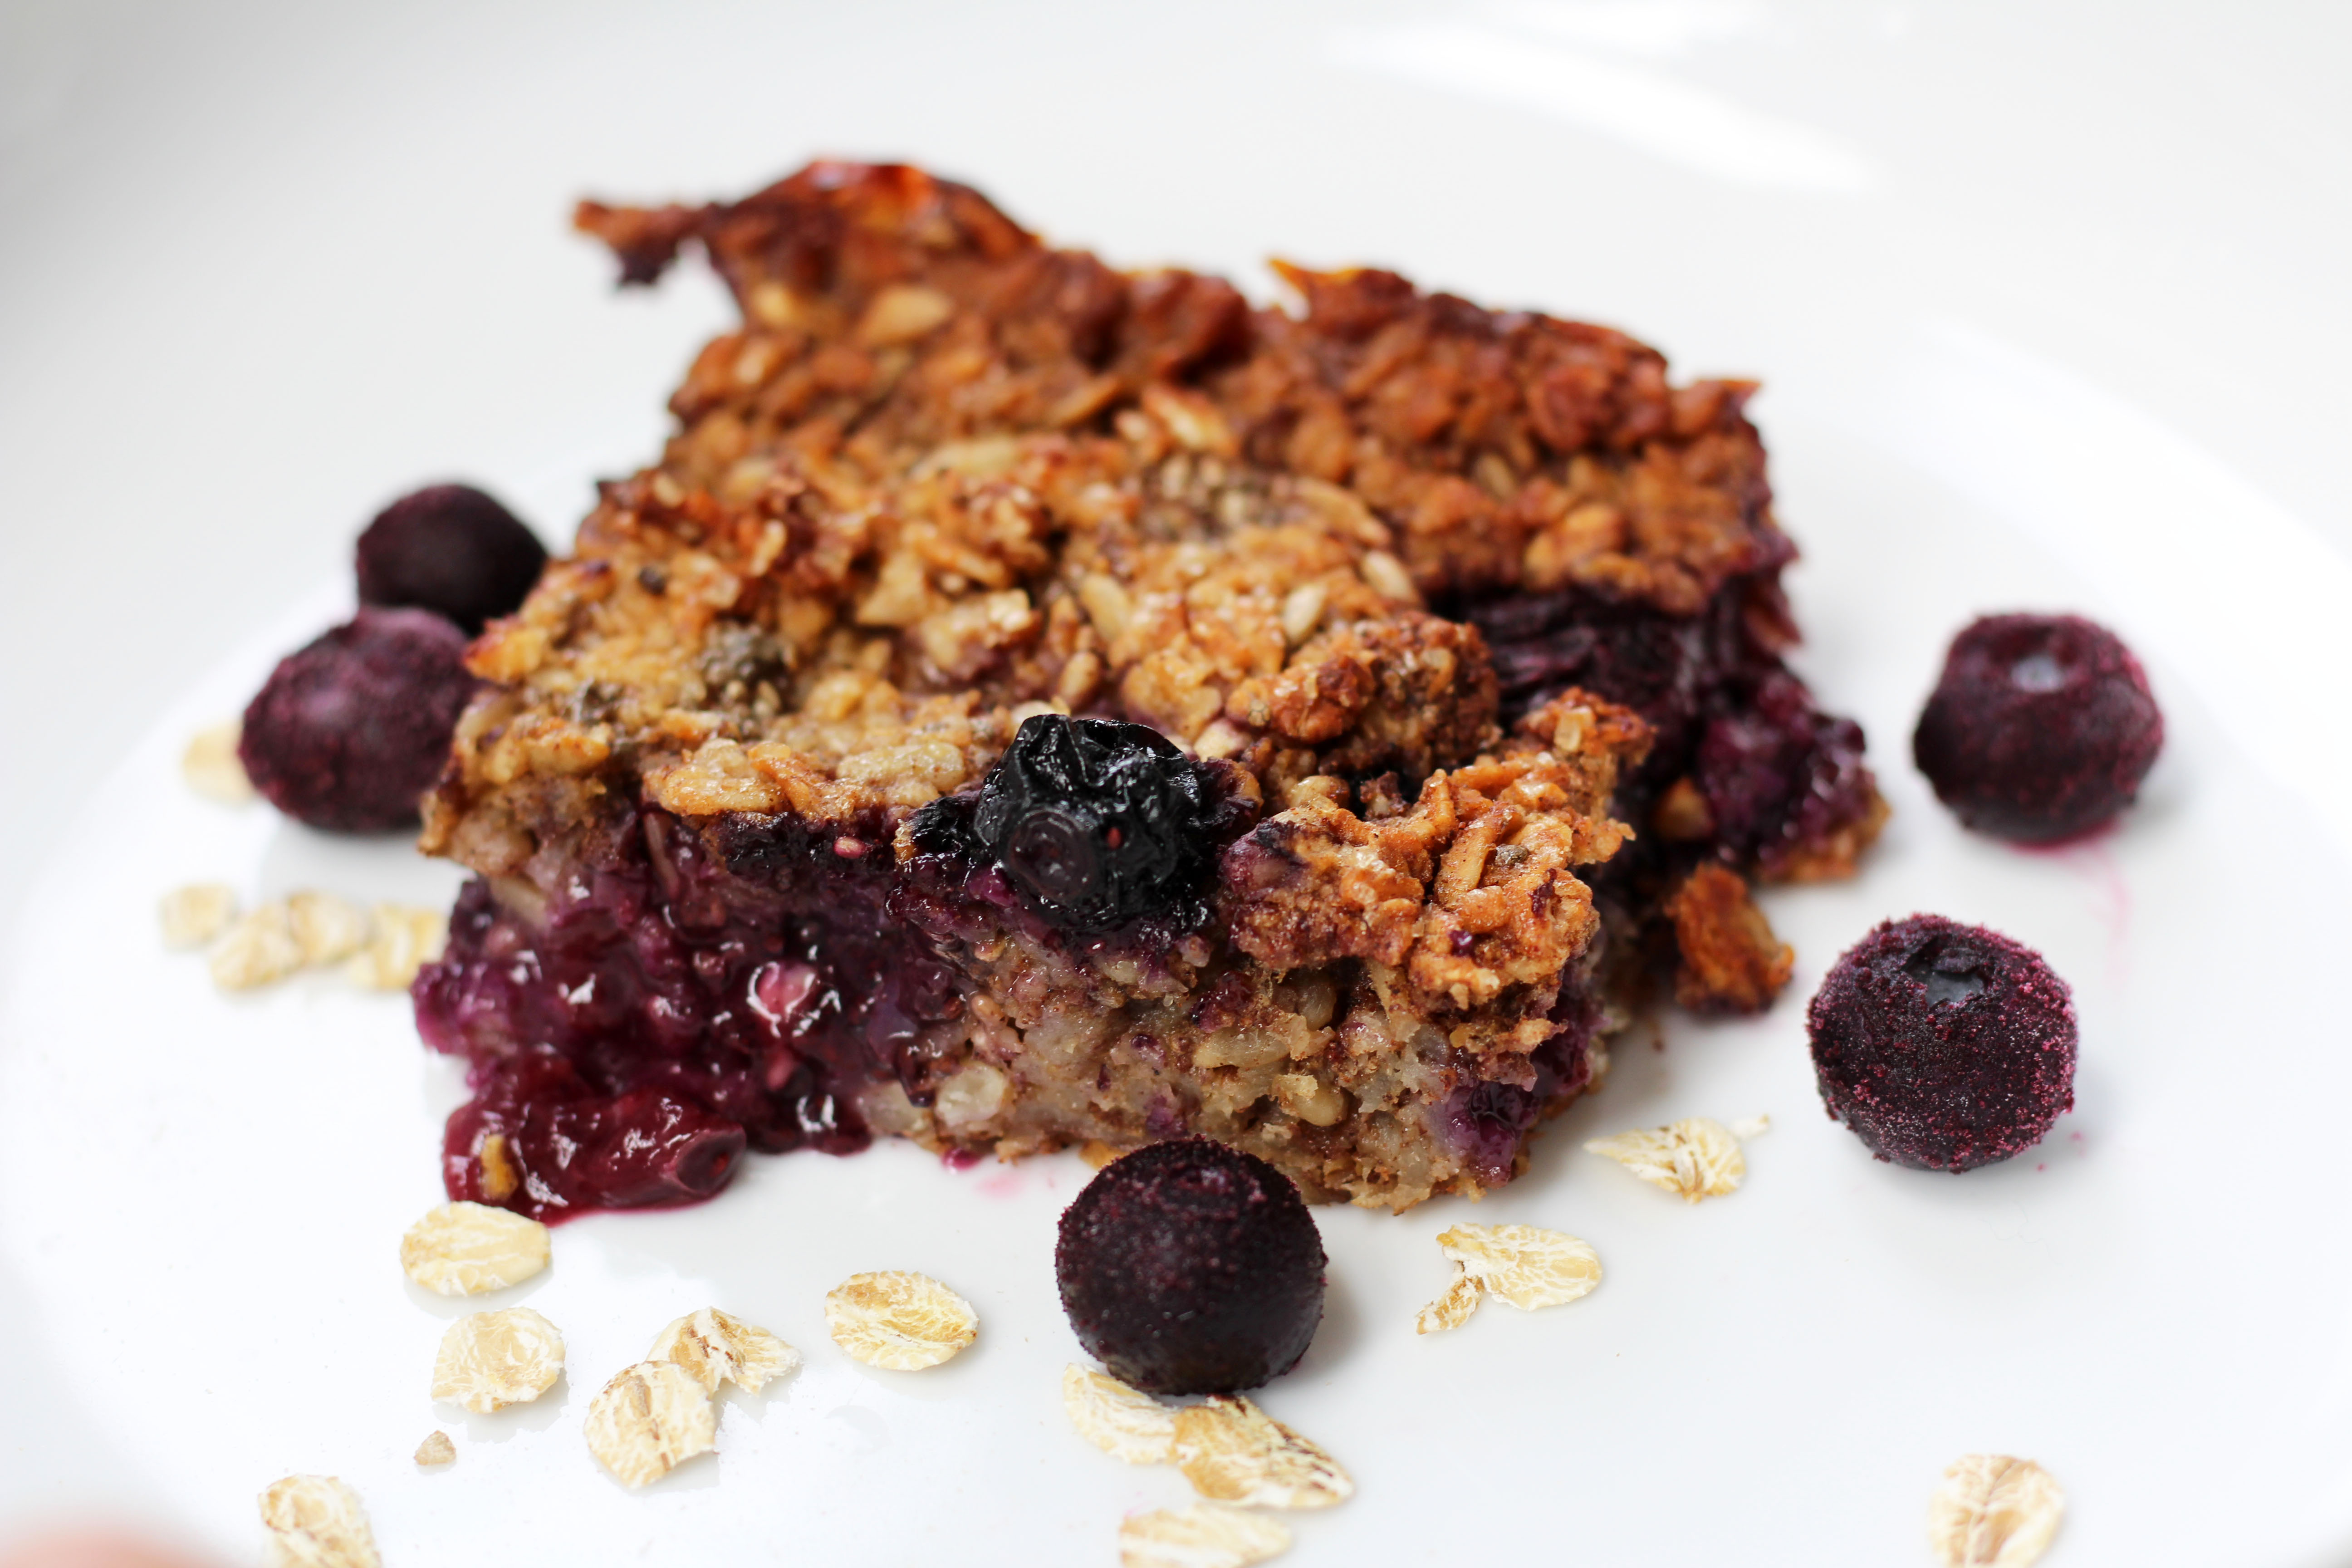
Baking oatmeal transforms the texture entirely. It's sort of somewhere between a flapjack and bread and butter pudding. Either way, it's incredible. And I love vegan versions that use chia "eggs" because this only further helps add to the gelatinous texture that make this so satisfying to eat.
This was my attempt at recreating Chip's blueberry oatmeal, but this time making it exclusively vegan. The end result is a total winner and I hope you'll give it a go. You could make this on Sunday and eat it during the week (if you can restrain yourself), or treat your family and friends to brunch by presenting this beauty.
Wholesome, nutritious, delicious, flexible, and super-satisfying, here's how to bring it to life.

- 2 cups steel cut oats
- 2 teaspoons ground cinnamon
- 1/2 teaspoon ground nutmeg
- 2/3 cup chopped nuts or seeds (I like chopped almonds or sunflower seeds)
- 1/2 teaspoon sea salt
- 1 teaspoon baking powder
- 1 3/4 cup dairy-free milk
- 1/3 cup agave or maple syrup
- 2 tablespoons chia seeds
- 6-8 tablespoons water
- 1 tablespoon + 1 teaspoon sunflower or grapeseed oil
- 2 teaspoons vanilla extract
- 2 1/2 cups blueberries (fresh or frozen)
- 2 teaspoons sugar (coconut or cane)

Directions
1. Preheat oven to 375°F/190°C and grease a 9-inch square baking dish.
2. In a large mixing bowl, combine oats, nuts or seeds, spices, baking powder, and salt.
3. Prepare your chia "eggs" in a separate, small mixing bowl by combining chia seeds with water. Allow to sit for 5-10 minutes until texture becomes gelatinous.
4. To chia "eggs," add agave, milk, oil, vanilla, and mix until combined.
5. To baking dish, add 2 cups of the blueberries. Cover with oat mix then drizzle over the liquid.
6. Mix all together so all oats are covered with the liquid.
7. Scatter remaining 1/2 cup of blueberries over the top and sprinkle over sugar.
8. Bake for 45 minutes until top turns golden brown.
9. Allow to cool for 10 minutes or so, then serve! Note: I actually prefer this on the colder side. The texture holds better as well. Don't worry at all about making several hours ahead of time. You can eat straight out of the fridge or microwave. This recipe will keep for up to 3 days, although honestly, I think once you try it, you'll struggle to leave any for the next day!
Also by Kat: Vegan Dark Chocolate Cake
Related: Vegan Banana Oatmeal Blender Pancakes
Gluten-Free & Vegan Blueberry Scones
Get more like this—Subscribe to our daily inspirational newsletter for exclusive content!
__
Photos: Kat Kennedy

